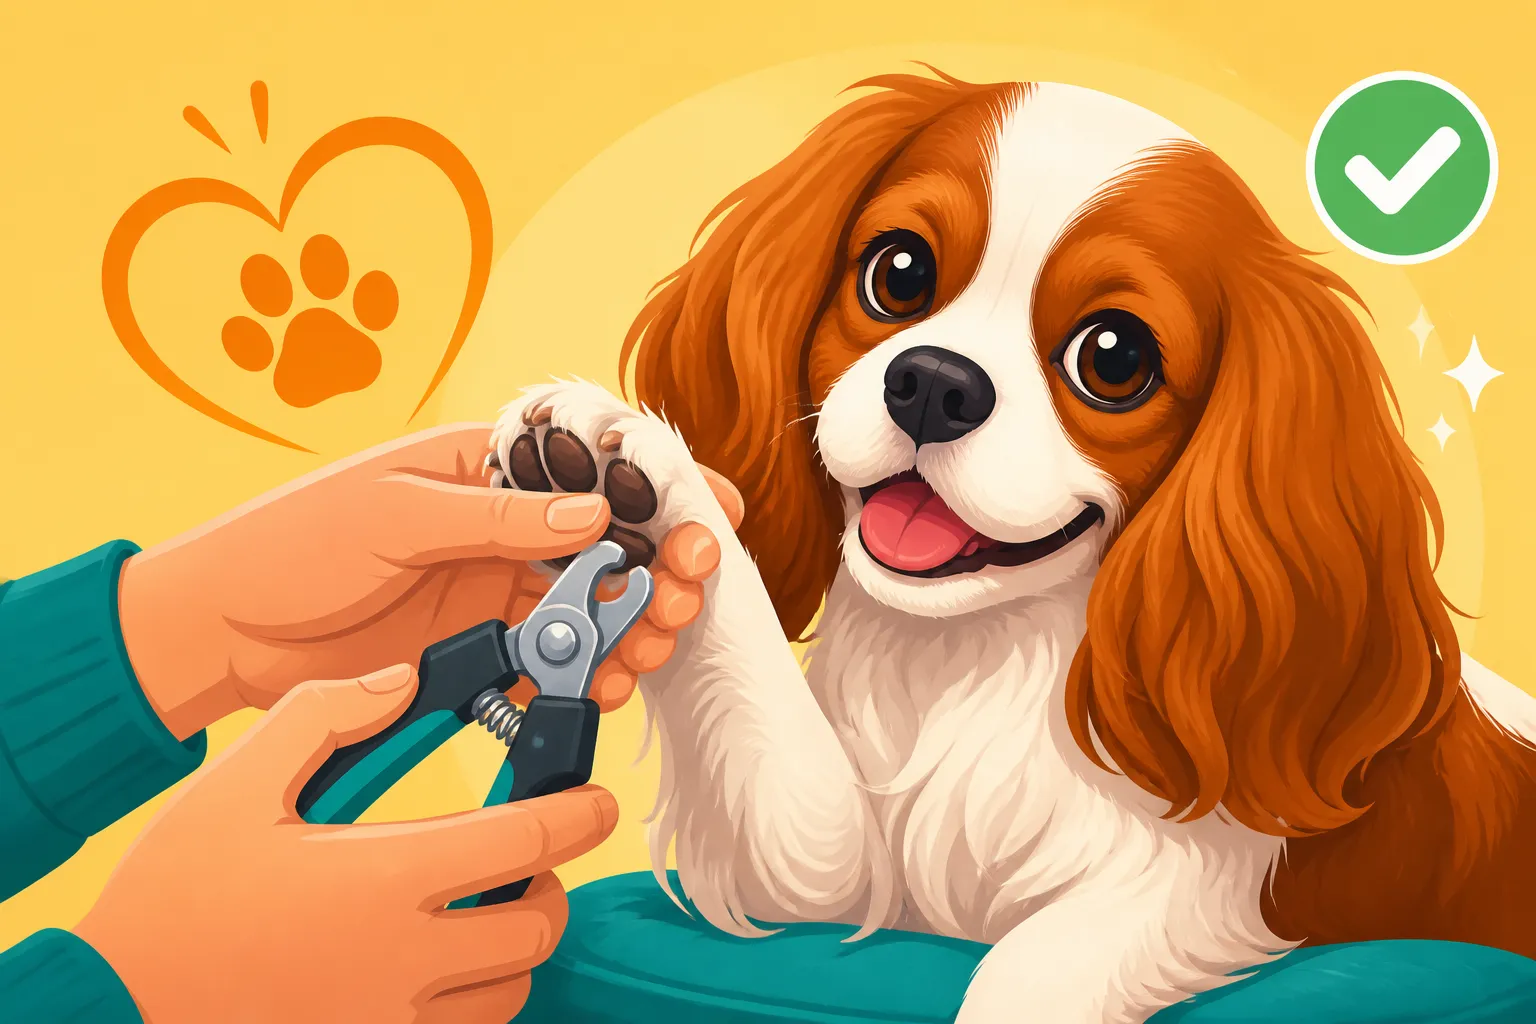
Trimming a Cavalier’s Nails Without a Fight
Trying to trim your beloved Cavalier's nails can sometimes feel less like routine care and more like a wrestling match with a tiny, fluffy, very opinionated octopus. Many Cavalier owners share this frustration; one minute you're gently holding a paw, the next your sweet companion is wriggling, yelping, or looking at you with betrayal in their big, dark eyes. This guide is here to transform nail trimming from a dreaded chore into a manageable, even calm, part of your Cavalier's grooming routine, focusing on positive reinforcement and understanding your dog's unique needs.
Understanding Why Nail Trimming Can Be a Battle
It’s easy to feel like your Cavalier is just being stubborn, but there’s often a deeper reason why they resist nail trims. Their reluctance usually stems from fear, discomfort, or past negative experiences, all amplified by their naturally sensitive and gentle nature. Understanding these roots is the first step toward making the process easier for both of you.
The 'Quick' Problem and Past Negative Experiences
One of the biggest culprits behind a Cavalier's fear of nail trims is the "quick." Inside each nail, there's a sensitive bundle of nerves and blood vessels called the quick. If you cut into it, it's painful and can bleed quite a bit, which is incredibly startling and uncomfortable for your dog. Just one accidental "quick" can create a lasting phobia, making future trims a monumental challenge. Imagine someone accidentally pinching your finger really hard while trying to trim your nails – you'd likely be pretty wary of them doing it again! Cavaliers, being such people-pleasers and generally mild-mannered, can internalize this fear deeply. They might start associating the clippers or grinder with pain, leading to frantic pulling away, yelping, or even trying to bite. It's not malice; it's a learned response to protect themselves from what they perceive as a threat. They remember, and their memories of discomfort can be surprisingly long-lived.
Anatomical Considerations for Cavalier Nails
Cavaliers typically have dainty paws, but their nails grow continuously, just like human nails. Many Cavaliers also have dewclaws on their front legs, sometimes even on their hind legs. These dewclaws don't wear down naturally with walking as the other nails do, making them particularly prone to growing too long and curling into the paw pad, which can be incredibly painful. Imagine walking with a thorn constantly digging into your leg – that's what a neglected dewclaw can feel like. The color of your Cavalier's nails also plays a role in trimming difficulty. Some Cavaliers have clear or light-colored nails, where you can see the pink quick through the nail, making it easier to judge where to cut. However, many Cavaliers, especially those with darker coats or markings, have black nails. With black nails, the quick is invisible, which significantly increases the risk of cutting too far back and causing pain. Additionally, Cavaliers have lovely feathering around their paws, which, while beautiful, can sometimes hide overgrown nails, making it harder for owners to notice they're getting too long until they start causing problems. This feathering can also make it tricky to get a clear view of the nail itself when you're trying to trim.
The Importance of Early Desensitization
If you have a Cavalier puppy, starting nail care early is absolutely paramount. Puppies are like little sponges, soaking up experiences and forming associations that will last a lifetime. If nail trims are introduced gently and positively from a young age, they'll grow up accepting it as a normal, non-threatening part of their routine. This isn't just about avoiding future battles; it's about building trust and ensuring their long-term comfort. Even before you actually trim, you can start by simply touching their paws, playing with their toes, and gently holding their nails for a few seconds, always followed by praise and a tiny, delicious treat. The goal is to make paw handling a pleasant experience. Think of it as laying the groundwork for all future grooming, from ear cleaning to full baths. Socializing a Cavalier Puppy Gently extends to handling every part of their body, including their sensitive paws.
Essential Tools and Techniques for a Stress-Free Trim
Approaching nail trimming with the right mindset, the right tools, and a patient, positive technique can make all the difference. It's not about forcing your Cavalier, but about guiding them through a process that ultimately keeps them healthy and comfortable.
Choosing the Right Nail Trimmers for Cavaliers
The market offers several types of nail trimmers, and finding the right one for your Cavalier can significantly impact your success.
- Guillotine-style clippers: These are often favored for smaller to medium-sized dogs, and many Cavalier owners find them effective. The nail is inserted into a small hole, and a blade slides across to make the cut. They can provide a clean cut if sharp.
- Scissor-style clippers: These resemble small pliers and are often preferred for very tiny puppies or for those who find the guillotine type awkward. They give you a bit more visual control over the angle.
- Nail Grinders (Dremel-style tools): These battery-operated tools file the nail down rather than clipping it. Many owners swear by grinders, especially for dogs who fear clippers or have black nails where the quick is hard to see. Grinders allow for more gradual removal, reducing the risk of hitting the quick. However, they do make noise and vibrations, which some Cavaliers might initially find startling.
No matter which type you choose, ensure they are sharp. Dull clippers can crush the nail, causing pain even if you don't quick the dog. You can find a wide variety of quality clippers and grinders on platforms like Chewy or Amazon, allowing you to compare options and read reviews from other pet owners. It's also wise to have styptic powder or a styptic pencil on hand, just in case you accidentally cut too far and cause bleeding. This is a must-have for any nail trimming kit, available on Amazon or Chewy.
Gradual Desensitization and Positive Reinforcement
This is the cornerstone of stress-free nail trimming, especially if your Cavalier already has a negative association.
- Introduce the tools: Place the clippers or grinder on the floor a safe distance away. Let your Cavalier sniff them. Reward with a treat. Repeat this several times over days, gradually moving the tool closer. The goal is for them to associate the tool with good things (treats).
- Handle their paws: Gently touch your Cavalier's paws. Start with a quick touch, then treat. Gradually increase the duration and intensity, gently squeezing their toes, spreading their pads, and holding individual nails. Keep it short, positive, and frequent. This builds on the foundation of Teaching a Cavalier to Accept Grooming.
- Simulate the act: Once they're comfortable with paw handling, introduce the sound of the clippers or grinder without actually touching their nails. Clip a piece of uncooked spaghetti next to them, or turn on the grinder for a second in another room. Reward their calm reaction. Slowly bring the sound closer.
- Practice "mock" trims: Gently hold their paw, touch the clippers to a nail (without clipping), and immediately give a treat. With a grinder, touch the un-spinning head to the nail. The idea is to mimic the sensations without any actual trimming or filing, making it a positive experience.
- Small steps, big rewards: When you're ready to trim, only do one or two nails at a time, especially initially. Make sure each successful snip or file is followed by enthusiastic praise and a super high-value treat – something they only get during nail trims. Think small pieces of cheese, cooked chicken, or peanut butter. If your Cavalier loves Kongs, consider stuffing one with peanut butter and letting them lick it while you work.
The key is never to rush, never to force, and always to end on a positive note, even if you only managed one nail.
Mastering the Trimming Technique (and What to Do if You Quick)
The technique itself depends on whether you're clipping or grinding.
- Clipping: Hold your Cavalier's paw firmly but gently. Extend a single nail by placing your thumb on top of the paw and your index finger underneath, then gently pushing up on the pad just behind the nail. This helps separate the nail and exposes the quick. For light-colored nails, you'll see a pink area (the quick) and a white tip. You want to trim just the white tip, staying well away from the pink. For black nails, you need to take very small "sliver" cuts from the tip. As you get closer to the quick, the center of the trimmed nail will reveal a small, dark, moist dot. Stop cutting when you see this, as the quick is just beyond it.
- Grinding: Again, hold the paw securely. Gently touch the spinning tip of the grinder to the end of the nail, filing it down in short bursts (1-2 seconds) to prevent heat buildup. Keep the grinder moving slightly to avoid friction burns. Grind from the bottom up and then the sides, creating a smooth, rounded edge. This method is often safer for black nails as it allows for precise, gradual removal.
What if you quick your Cavalier?
Despite all precautions, it can happen. Don't panic. Apply styptic powder (like Kwik Stop) immediately to the bleeding nail. Hold gentle pressure for a few seconds. The bleeding should stop fairly quickly. Offer comfort and reassurance to your Cavalier. Don't scold them for yelping or pulling away – they were in pain. End the session on a positive note if possible (maybe a favorite game or a high-value treat) and resume trimming another day. A negative experience doesn't have to derail all your progress if you handle it calmly and compassionately. Remember to always have your styptic powder ready, easily found on Chewy or Amazon.
Making Nail Care a Positive Routine
Consistency is truly king when it comes to maintaining your Cavalier's nails and making the experience palatable for them. It's about integrating nail care into their regular schedule, just like feeding or walks, rather than treating it as an infrequent, high-stress event.
Establishing a Consistent Schedule
Cavaliers generally need their nails trimmed every 2-4 weeks, depending on how quickly their nails grow and how much natural wear they get from walking on hard surfaces. The key is to trim them often enough so they never get long enough to touch the ground when your Cavalier is standing. If you can hear their nails clicking on the floor, they're already too long. Overgrown nails can cause a host of problems beyond just discomfort. Long nails can push the toe bones upwards, putting pressure on the foot and leading to pain in their paws, legs, and even their joints. This can impact their gait, potentially exacerbating issues like Cavalier Knees, Hips and Joint Problems. In severe cases, they can grow so long they curl back into the paw pad, causing open sores and infections. By setting a regular schedule, say every other Sunday, you establish a predictable routine that your Cavalier can learn to anticipate. Predictability often reduces anxiety, as they know what to expect.
Alternative Approaches to Nail Management
Sometimes, clippers or even grinders just aren't working out for your Cavalier, or you might be looking for ways to supplement professional trims.
- Manual Nail Files: For very short trims or to smooth edges after clipping, a sturdy manual nail file can be useful. It's slow and requires patience, but it's completely silent and vibration-free.
- Scratch Boards: These are essentially boards covered with sandpaper or a similar abrasive surface. You can train your Cavalier to scratch the board to file their own nails down. This turns nail care into a fun game! It works particularly well for front nails. You lure them to scratch with a treat, reinforcing the action. It can be a fantastic way to engage them in their own nail maintenance and give them agency in the process.
- Paw Pad Health: While not directly nail trimming, ensuring your Cavalier's paw pads are healthy can indirectly make nail care easier. Healthy pads mean less sensitivity and discomfort when you handle their feet. Check for cracked pads, foreign objects like grass seeds, or excessive hair between the pads. Trimming the hair between their pads can also improve traction and reduce the collection of debris.
Remember that Harnesses Suited to a Cavalier's Neck are important for walks, but good paw and nail care are essential for comfortable movement at home and outdoors. If your Cavalier ever starts A Cavalier That Refuses Stairs, painful feet from overgrown nails could be a contributing factor.
When to Seek Professional Help (and How to Prepare)
It's perfectly okay if you find nail trimming overwhelming, or if your Cavalier's anxiety is too high for you to manage at home. Many owners opt for professional help, and there's absolutely no shame in it.
- Veterinary Technicians: Your vet's office often has skilled veterinary technicians who can quickly and efficiently trim nails, sometimes with an extra pair of hands to help hold and distract your Cavalier. They are also adept at handling anxious dogs and dealing with any accidental quicking.
- Professional Groomers: Groomers are experienced with various breeds and temperaments, including the often-sensitive Cavalier. They can usually perform nail trims as a standalone service or as part of a full grooming session. When finding a groomer, look for one who emphasizes positive reinforcement and gentle handling.
- Preparing for Professional Visits: Even when going to a professional, you can help reduce your Cavalier's stress. Keep up with the positive reinforcement at home, practicing paw handling daily. Bring high-value treats to the appointment. Let the staff know your Cavalier's history with nail trims so they can adjust their approach. Some vets or groomers might even suggest a short, calming visit just for treats and positive interaction before attempting a full trim.
Common Cavalier Nail Trimming Challenges and Solutions
Even with the best intentions and tools, you might encounter specific hurdles when it comes to trimming your Cavalier's nails. Knowing how to anticipate and address these challenges can save you a lot of frustration and keep the process as smooth as possible.
Dealing with Black Nails
Black nails are perhaps the most common anxiety-inducer for owners, simply because you can't see the quick. The fear of causing pain is very real and legitimate.
- Small, Frequent Trims: The golden rule for black nails is to take off tiny slivers at a time. This method, often called "walking the quick back," means you're gradually encouraging the quick to recede further into the nail bed over time. With each tiny trim, you stimulate the quick to retract.
- Look for the "Bullseye": As you take tiny slices from a black nail, keep an eye on the cross-section. Initially, it will look white and powdery. As you get closer to the quick, you'll see a small, dark, moist dot appear in the center of the white. This "bullseye" or "dot" is your signal to stop. The quick is immediately below that point.
- Grinding as an Alternative: Many owners find a nail grinder to be a safer and less stressful option for black nails. The gradual filing allows you to stop precisely when you see that tell-tale dark dot, minimizing the risk of a quick. The controlled abrasion means you're less likely to make a sudden, deep cut.
- Lighting is Key: Ensure you have excellent lighting. A bright headlamp or a well-lit room can make a significant difference in being able to see the subtle changes in the nail's cross-section.
Managing Anxiety and Fear in Adult Cavaliers
If you have an adult Cavalier who already has a strong aversion to nail trims, patience and consistency are your greatest allies.
- Counter-Conditioning: This involves changing your dog's emotional response from negative to positive. Instead of forcing them, gradually expose them to the tools and process in a way that always predicts something good. For example, show them the clippers, give a treat. Touch their paw, give a treat. This could take weeks or even months, but it's crucial for long-term success. Never progress faster than your Cavalier is comfortable.
- Distraction Techniques: High-value, long-lasting distractions can be incredibly helpful. A lick mat smeared with peanut butter, a stuffed Kong, or even a small amount of canned spray cheese (if your dog can handle dairy) can keep them occupied while you work. Some owners find two people are best: one to distract and praise, one to trim.
- Calming Aids: For highly anxious Cavaliers, discuss calming aids with your veterinarian. This could include pheromone sprays or diffusers, calming supplements, or in severe cases, prescription anti-anxiety medication given before a trim session. These aids are not a "fix-all" but can help lower their anxiety threshold enough for the counter-conditioning to be more effective.
- Short, Frequent Sessions: Instead of one big, stressful trim, aim for very short, frequent sessions. Maybe one nail a day, or even just touching the clippers to a nail for a treat. The goal is to accumulate positive experiences.
Incorporating Grooming into Overall Health Checks
Think of nail trimming not as an isolated task, but as part of a holistic approach to your Cavalier's well-being. Regular grooming sessions offer valuable opportunities to check for other health concerns that might otherwise go unnoticed.
- Paw Health: While trimming nails, take a moment to inspect their paw pads for cuts, cracks, foreign objects, or tenderness. Check between their toes for irritation, redness, or matted fur. These are common spots for issues to hide, especially if your Cavalier has very feathered feet.
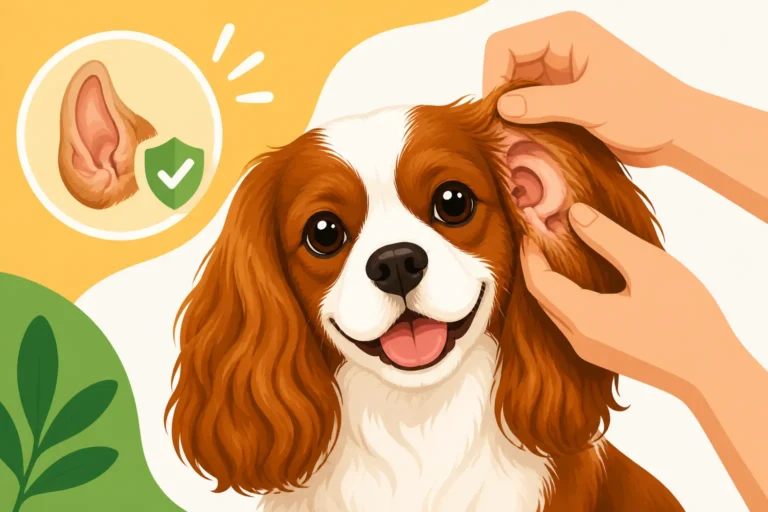
- Ear Checks: Cavaliers with their beautiful, long drop ears are prone to ear infections. A grooming session, including paw handling, can easily extend to a quick Daily Ear Checks on a Cavalier. Lift their ear flaps, check for redness, discharge, or an unusual odor. This can catch problems early, before they become severe.
- Dental Health: While your Cavalier is in a calm, cooperative mood for grooming, it's also a good time to gently lift their lips and check their teeth. Look for any signs of tartar buildup, redness in the gums, or broken teeth. Cavaliers are prone to Cavalier Dental Disease in a Crowded Jaw, so keeping an eye on their oral hygiene is crucial, starting from when The Age a Cavalier Needs Its First Dental appointment is due.
- Coat and Skin Inspection: As you brush and handle them for nail trims, feel for any lumps, bumps, or skin irritations under their coat. Cavaliers can develop skin allergies, and catching these early makes treatment easier.
By combining these checks, you're not just trimming nails; you're performing a mini-health assessment that helps you stay on top of your Cavalier's overall health.
| Tool Type | Pros | Cons | Best For |
|---|---|---|---|
| Scissor-Style | Good visibility; easy to use for small nails; precise. | Can crush nail if dull; risk of quicking on black nails. | Puppies; small dogs; clear nails; owners who prefer manual control. |
| Guillotine-Style | Quick and efficient cut; often preferred by professionals. | Can be intimidating; difficult to see exact cut point for black nails. | Well-behaved dogs; larger nails (though Cavalier nails are usually fine with either); experienced users. |
| Electric Grinder | Reduces quicking risk (especially on black nails); smooth finish; less jarring than a clip for some dogs. | Noise and vibration can scare some dogs; generates heat if held too long; takes longer than clipping. | Anxious dogs; black nails; owners wanting precise, gradual control; preventing sharp edges. |
| Manual Nail File | Silent; no quicking risk; good for smoothing rough edges. | Very slow; not effective for significantly overgrown nails; requires patience. | Very nervous dogs; touch-ups; smoothing after clipping. |
Disclaimer
This article is for general informational purposes only and does not constitute professional advice. Laws, prices and regulations vary by location and change over time. Consult a qualified professional for guidance on your specific situation.