Cleaning a Cavalier’s Ear the Right Way
If you're a Cavalier owner, you know the struggle is real when it comes to those beautiful, long, floppy ears. They're part of what makes our Cavaliers so adorable, but they can also be a magnet for dirt, debris, and, let's be honest, all sorts of gunk, leading to uncomfortable and often painful infections. This guide is here to walk you through the absolute right way to clean your Cavalier's ears, helping you keep them healthy and happy, and hopefully, prevent those dreaded vet visits.
Understanding Your Cavalier's Unique Ear Challenge
Those gorgeous, silky drop ears are undeniably charming, but from a practical standpoint, they present a unique set of challenges for ear health. It’s not just about looking pretty; it’s about understanding the anatomy and why it makes our beloved Cavaliers particularly susceptible to ear woes.
Why Cavalier Ears Are Prone to Problems
Imagine wearing a warm, fuzzy blanket over your ears all the time. That's essentially what a Cavalier's long, heavy, feathered drop ears do for their ear canals. This design creates a warm, moist, and dark environment—the perfect breeding ground for bacteria and yeast. Unlike breeds with upright ears, like a German Shepherd, or even those with shorter, less feathered drop ears, the Cavalier's ears often cover the ear canal almost completely, severely limiting air circulation. This lack of airflow means that any moisture, whether from a bath, a swim, or even just humidity in the air, tends to get trapped inside, creating a little tropical paradise for unwelcome microorganisms. You might find yourself constantly battling issues, and it often feels like an uphill battle. It's a fundamental part of Why a Cavalier's Drop Ears Trap Infection.
Beyond just the external flap, the structure of a dog's ear canal itself is another factor. Dogs have an L-shaped ear canal, which means it goes down vertically before taking a sharp turn horizontally towards the eardrum. This deep, winding path makes it incredibly difficult for debris, wax, and fluids to naturally drain out. When you combine this anatomical quirk with a Cavalier's heavy, air-restricting ear leather, you've got a recipe for potential trouble. It's not uncommon for owners to feel like they're fighting a losing battle, especially if their Cavalier is also prone to allergies, which can further exacerbate inflammation and wax production within that already vulnerable canal.
Recognizing the Signs of a Healthy vs. Problematic Ear
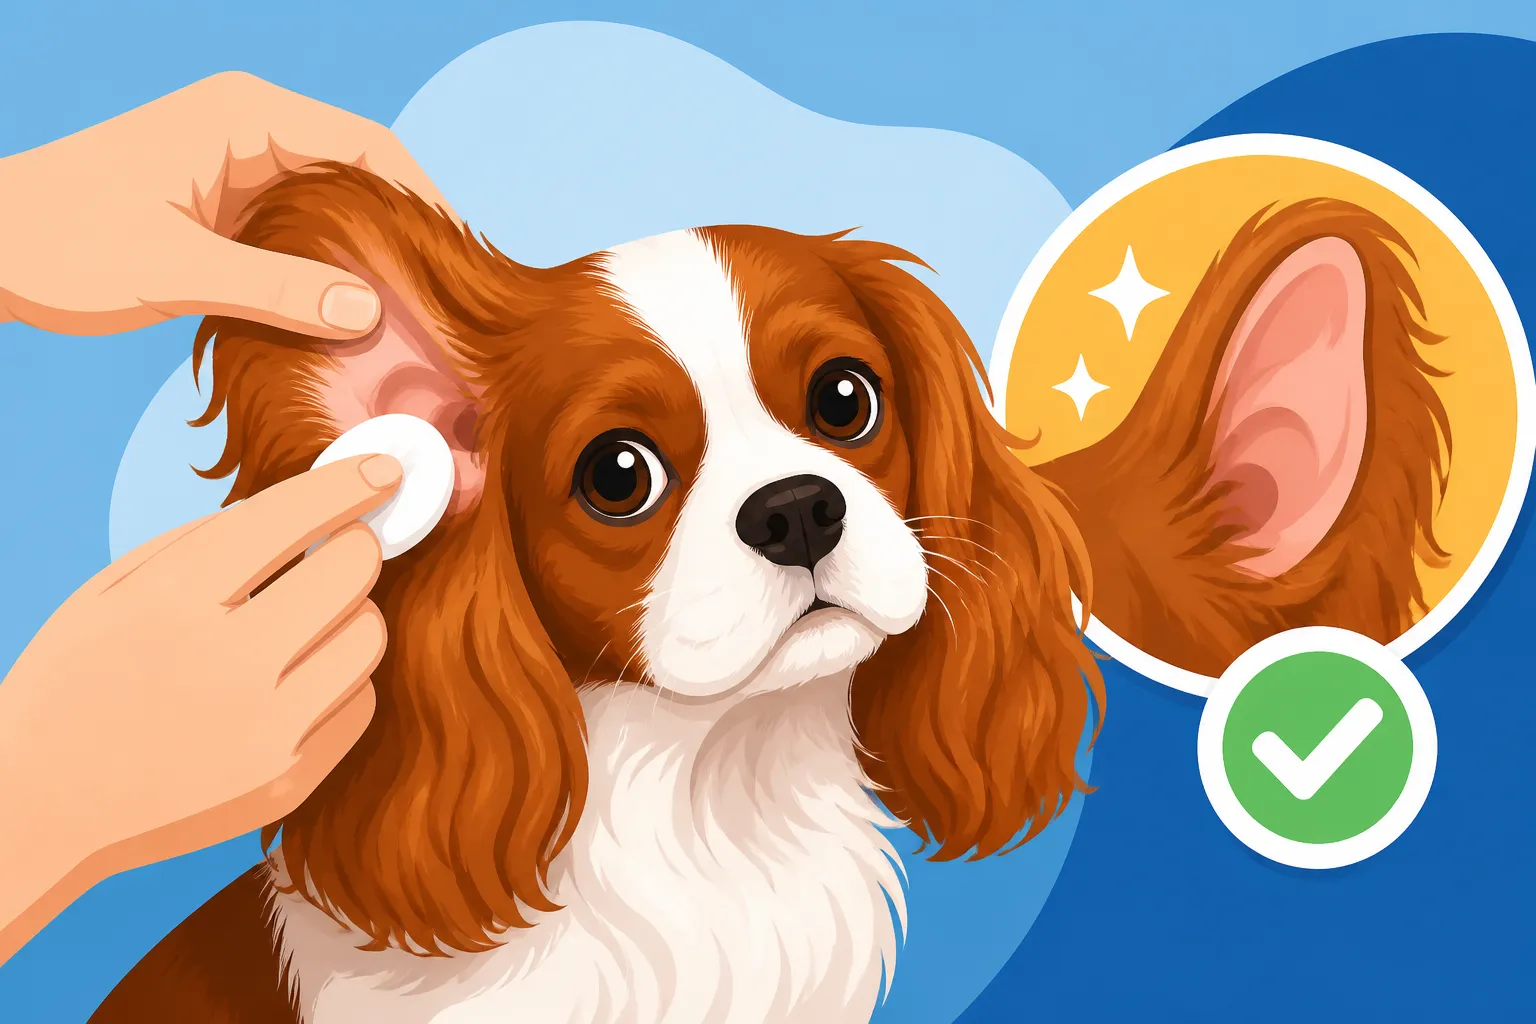
Knowing what a healthy Cavalier ear looks and smells like is your first line of defense. A healthy ear should have clean, pale pink skin inside the ear flap, with minimal wax and no noticeable odor. The hair inside the canal should be sparse and clean, and your Cavalier should not be scratching, shaking their head excessively, or showing any signs of discomfort when you gently touch their ears. It should look quite clear and feel smooth to the touch, almost dry, with no greasy residue. This is the baseline you're aiming for with your routine care. You can learn more about What a Healthy Cavalier Ear Looks Like.
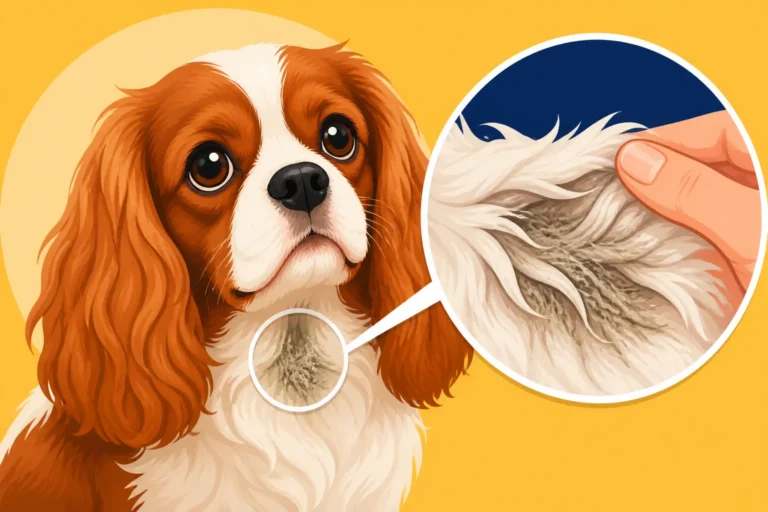
In contrast, a problematic ear will often make its presence known through clear warning signs. You might notice redness, swelling, or crusting on the inside of the ear flap or around the entrance to the canal. There might be an increase in dark, yellowish, or brownish discharge, which can sometimes look like coffee grounds. The most tell-tale sign, however, is often the smell; an infected ear will almost always have a strong, unpleasant odor – often described as yeasty or pungent. The Smell That Means a Cavalier Ear Infection is something you won't forget once you've encountered it. Beyond visual and olfactory cues, your Cavalier's behavior will change: increased head shaking, frantic scratching at the ear, rubbing their head on furniture, or even yelping when you touch their ear are all red flags that something is wrong. They might even become withdrawn or irritable due to the discomfort.
The Risks of Neglecting Ear Hygiene
Ignoring your Cavalier's ear health isn't just about tolerating a bit of smell or discharge; it can lead to serious, painful, and costly problems down the line. What starts as a minor irritation can quickly escalate into a full-blown infection, requiring veterinary intervention and potentially long courses of medication. These infections can be bacterial, yeast, or even a combination of both, and they thrive in that warm, moist environment we just discussed. Chronic infections can lead to thickening of the ear canal walls, making future cleaning and medication application even more challenging.
Beyond just the ear canal itself, untreated infections can cause severe pain for your Cavalier, impacting their quality of life. Imagine a constant ache or itch you can't relieve – that's what they might be experiencing. In severe cases, chronic inflammation can lead to irreversible changes in the ear canal, such as calcification, narrowing, or even rupture of the eardrum, which can result in hearing loss. Sometimes, if the infection goes deep enough, it can even affect the inner ear, leading to balance issues or neurological problems. No one wants to see their beloved companion suffer, and taking proactive steps with proper ear hygiene can prevent so many of these painful outcomes, helping to avoid issues like Cavalier Ear Infections and Why They Recur and even more severe problems like Chronic Ear Disease and Cavalier Hearing Loss.
Essential Tools and Supplies for Proper Ear Cleaning
You wouldn't try to bake a cake without the right ingredients, and the same goes for cleaning your Cavalier's ears. Having the right tools on hand makes the process smoother, safer, and far more effective for both of you. Don't just grab whatever's under the sink; invest in products specifically designed for canine ear care.
Choosing the Right Ear Cleaner for Sensitive Cavaliers
Selecting the right ear cleaner is paramount, especially for a breed like the Cavalier, which can have sensitive skin. You want a cleaner that is gentle, non-irritating, and effective at breaking down wax and debris without causing discomfort or dryness. Look for veterinary-approved solutions that specify they are safe for routine use. Many excellent brands are available, often containing ingredients like salicylic acid, malic acid, or boric acid, which help to dry the ear canal and prevent microbial growth, alongside gentle surfactants to loosen wax. Always choose one specifically formulated for dogs; human ear cleaners can have different pH levels or ingredients that are too harsh.
When you're shopping, you'll find a variety of options. Some cleaners are more astringent, designed to dry out ears prone to yeast, while others are more moisturizing, for those with drier ear canals. If your Cavalier is prone to recurring infections, your vet might recommend a specific medicated cleaner. However, for routine maintenance, a gentle, general-purpose cleaner is usually ideal. You can often find highly-rated options on platforms like Chewy or Amazon, but always read reviews and, if in doubt, ask your veterinarian for a recommendation tailored to your dog's specific needs. They might even suggest Ear Cleaner Worth Using on a Cavalier that they've seen great results with in their practice.
Beyond the Bottle: What Else You'll Need
The ear cleaner is just one part of your arsenal. You'll also need a few other supplies to ensure a thorough and comfortable cleaning experience. The most important additional tool is plenty of soft cotton balls or gauze pads. Avoid anything too fibrous that might leave lint behind. These are crucial for gently wiping away the loosened debris and excess cleaner from the outer ear and the visible parts of the canal. You'll likely use quite a few, so having a good stash is helpful.
Another item that comes in handy, especially if your Cavalier has very long ear feathering, is a hair tie or soft scrunchie to gently hold their ear leather up and out of the way while you work. This prevents the ear flap from falling back into the wet canal and ensures you have a clear view. Finally, don't forget the treats! Positive reinforcement is key, and having a supply of your Cavalier's favorite high-value treats will make the whole process much more tolerable, if not downright enjoyable, for them. It turns a potentially unpleasant task into a rewarding one, associating ear care with good things.
Debunking Common Misconceptions About Ear Cleaning Tools
There are a few myths and misconceptions floating around about what you should use to clean your dog's ears, and it's vital to clarify them to avoid causing harm. One of the most persistent and dangerous myths is the idea of using cotton swabs (Q-tips) to clean deep inside the ear canal. This is an absolute no-go. The L-shaped structure of a dog's ear canal means that a cotton swab will almost certainly push wax and debris further into the ear, compacting it against the eardrum and potentially causing a blockage or even rupturing the eardrum. It's not worth the risk, ever. Why Cotton Swabs Ruin a Cavalier's Ear is a common problem vets see.
Another common mistake is thinking you need specialized, expensive tools or complicated gadgets. For most routine cleanings, simple cotton balls and a good quality cleaner are all you need. You don't need ear scopes or deep cleaning instruments; leave those to the professionals. Similarly, avoid using household items like rubbing alcohol or hydrogen peroxide. While they might seem like effective cleaners, they can be highly irritating to the delicate tissues of a dog's ear canal, causing dryness, burning, and even chemical inflammation. Stick to products specifically formulated and approved for canine ear use; they are designed to be safe and effective for your Cavalier's sensitive ears.
The Step-by-Step Guide to Cleaning Your Cavalier's Ears
Now that you're armed with the right knowledge and tools, it's time to get down to business. Cleaning your Cavalier's ears doesn't have to be a wrestling match; with patience and the correct technique, it can be a relatively stress-free routine.
Setting the Stage: Preparation and Comfort
Before you even open the ear cleaner, take a moment to set yourself and your Cavalier up for success. Choose a quiet, well-lit area where you both feel comfortable and there are minimal distractions. This might be in the bathroom, on a sturdy table covered with a non-slip mat, or even on your lap if your Cavalier is small and relaxed. Gather all your supplies—ear cleaner, cotton balls, treats, and maybe a small towel—within easy reach so you're not fumbling around once you start.
Next, gently lift your Cavalier's ear flap and inspect the inside. Look for any excessive redness, swelling, discharge, or a strong odor. If you see any of these signs, or if your Cavalier seems particularly painful, it might be best to pause the cleaning and consult your vet first. If everything looks relatively normal, gently pull any long hair from around the entrance of the ear canal back and out of the way. You can even use a soft hair tie to secure the long ear feathering back, as mentioned before, especially if it tends to dip into everything. Having a clear view is important for both safety and effectiveness.
The Gentle Cleaning Process, Liquid and Massage
Once you're ready, it's time for the cleaning solution. Hold your Cavalier's ear flap straight up and gently but firmly squirt the ear cleaner directly into the ear canal. Don't be shy; you want enough liquid to really fill the canal. Many owners are hesitant to use enough, but a good amount is necessary to effectively flush out debris. Your Cavalier might shake their head a little at this point, which is completely normal. Remember, this is why you chose a contained space!
After you've applied the cleaner, gently massage the base of your Cavalier's ear, just where the ear canal meets the head, for about 20-30 seconds. You should hear a squishing sound, which indicates the cleaner is working its way down into the L-shaped canal and loosening all that wax and gunk. This massage is crucial for breaking up debris and allowing the cleaner to do its job. Your Cavalier might even lean into the massage, finding it somewhat soothing. Continue this gentle massage, reassuring your dog with soft words. This step is key, and you can find more tips on Massaging the Base of a Cavalier's Ear.
Drying and Rewarding: The Crucial Final Steps
Once you've massaged the cleaner thoroughly, allow your Cavalier to shake their head. This is their natural way of expelling the loosened debris and excess liquid from the ear canal. Stand clear, as you might get a little spray! After they've had a good shake, take a fresh cotton ball or gauze pad and gently wipe the visible parts of the outer ear flap and the entrance to the ear canal. Don't insert anything deep into the canal; just wipe away what has come to the surface. You'll likely see some brownish-yellow discharge and wax on the cotton, which is exactly what you want to remove. Keep wiping with fresh cotton balls until no more visible dirt or debris comes out.
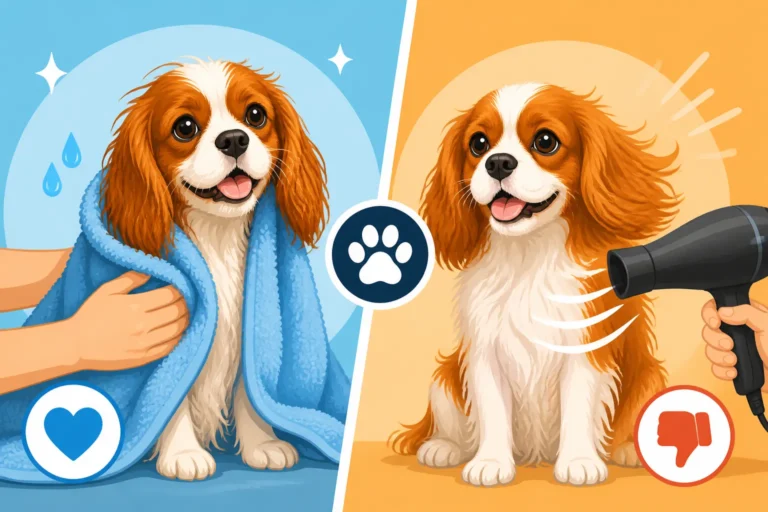
It's vital that the ear is as dry as possible to prevent another breeding ground for bacteria or yeast. While you'll remove most of the liquid with the head shakes and wipes, ensure there isn't excessive moisture lingering. For breeds like Cavaliers with heavy ear flaps, simply leaving the ear flopped down might trap moisture. Some owners gently hold the ear flap up for a few minutes or use a very soft, low-heat hairdryer from a safe distance, making sure not to point it directly into the ear canal. This is especially important after a bath or swim, as detailed in Drying a Cavalier's Ears After a Bath. Finally, and perhaps most importantly, lavish your Cavalier with praise and treats! Make it a super positive experience so they associate ear cleaning with good things, not just discomfort. This positive reinforcement is paramount for future cooperation.
Common Mistakes to Avoid When Cleaning Cavalier Ears
Even with the best intentions, it's easy to fall into common pitfalls when it comes to ear cleaning. Avoiding these mistakes is just as important as knowing the right steps, as improper cleaning can do more harm than good.
The Dangers of Over-Cleaning and Harsh Products
While regular ear cleaning is essential, there's a fine line between good hygiene and over-cleaning. Cleaning your Cavalier's ears too frequently, especially if they are already healthy, can strip away the natural protective oils and disrupt the delicate balance of the ear canal's microenvironment. This can actually lead to irritation, dryness, and inflammation, making the ear more susceptible to infections rather than less. For most healthy Cavaliers, cleaning once every 2-4 weeks is sufficient, or as recommended by your vet. If you notice signs of irritation after cleaning, consider extending the time between sessions.
Equally dangerous is the use of harsh or inappropriate products. As mentioned, never use human cleaning products, rubbing alcohol, or hydrogen peroxide. These substances can be incredibly irritating, painful, and even toxic if ingested. They can cause chemical burns, damage delicate ear tissues, and lead to more severe problems. Stick to veterinary-approved, canine-specific ear cleaners that are gentle and formulated for regular use. If you're unsure which product to choose, a quick call to your vet or a browse through reputable pet supply sites like Chewy or Amazon for vet-recommended brands can guide you.
Why Cotton Swabs Are a Big No-No
This point bears repeating because it's such a common and dangerous misconception. Using cotton swabs (Q-tips) to clean inside your Cavalier's ear canal is a critical mistake. A dog's ear canal is L-shaped, not a straight shot. When you insert a cotton swab, you're not really cleaning the canal; you're more likely to be pushing wax, dirt, and debris deeper into that bend, compacting it against the eardrum. This compact material can form a plug, trapping moisture and creating an ideal environment for infections.
Furthermore, inserting a cotton swab blindly into your dog's ear canal carries a significant risk of injury. You could scratch the delicate lining of the ear canal, causing pain and creating an entry point for bacteria, or, even worse, rupture the eardrum. A ruptured eardrum is incredibly painful and can lead to severe inner ear infections, balance problems, and permanent hearing loss. It's simply not worth the risk. Stick to cotton balls or gauze pads for wiping the visible outer ear and the entrance of the canal after the liquid cleaner has done its work. Your vet will thank you for understanding Why Cotton Swabs Ruin a Cavalier's Ear.
Ignoring Signs of Deeper Issues
Perhaps the most dangerous mistake is trying to treat what appears to be a simple ear problem with routine cleaning when it's actually something more serious. If your Cavalier's ear is red, swollen, intensely painful, has a foul odor, or is producing a lot of dark or purulent discharge, routine cleaning might not be enough. These are all signs of an active infection or an underlying problem that requires professional veterinary attention. Continuing to clean without addressing the root cause can prolong your dog's suffering and make the infection harder to treat.
Never attempt to diagnose or treat a severe ear infection yourself with home remedies or old medications. Your vet needs to examine the ear canal, possibly take a swab for cytology (to identify bacteria or yeast), and prescribe appropriate medication. Sometimes, recurring ear infections can be a symptom of broader issues like allergies (food or environmental), foreign bodies lodged in the ear, polyps, or even mites. If your Cavalier's ear problems persist despite your best efforts at home care, or if they seem to recur frequently, it's crucial to consult your veterinarian to investigate these potential underlying causes. Without addressing the underlying issue, you'll be stuck in a frustrating cycle of recurring problems.
Maintaining Ear Health Between Cleanings
Proper ear cleaning is just one piece of the puzzle. What you do in between those cleaning sessions is equally important for keeping your Cavalier's ears healthy and happy. It's all about consistent preventative care and vigilance.
Daily Checks and Preventative Measures
The best way to prevent severe ear problems is to catch them early. Make it a habit to do Daily Ear Checks on a Cavalier. This doesn't need to be a full cleaning session; it's simply a quick visual and olfactory inspection. When you're petting your Cavalier, gently lift their ear flaps and take a peek inside. Look for any changes from their normal healthy appearance – is there new redness, excessive wax build-up, or any discharge? Give them a sniff – is there any unusual odor, even a faint one? If you notice anything out of the ordinary, it's a good time to consider a gentle cleaning or a call to your vet if the signs are concerning.
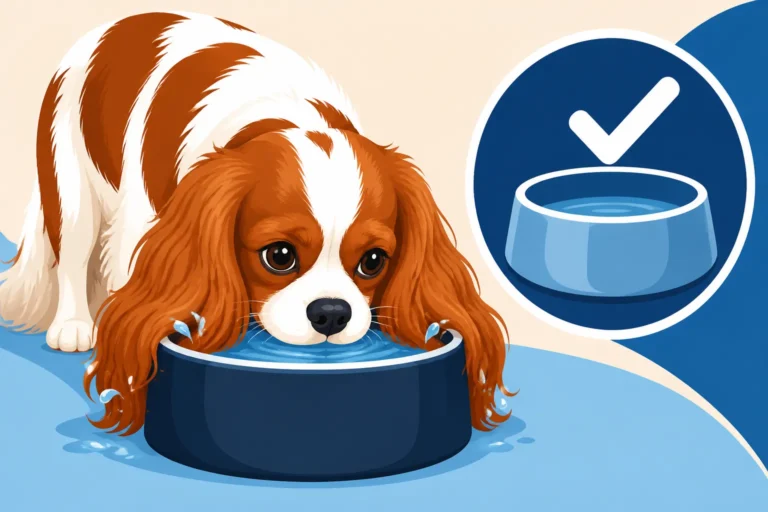
Beyond daily checks, certain preventative measures can significantly reduce the risk of ear problems. If your Cavalier loves to swim or gets frequent baths, always ensure their ears are thoroughly dried afterward. You can gently blot the inside of the ear flap with a soft towel, and again, use a very low-heat dryer from a distance if needed. For Cavaliers whose long ear feathering constantly drags through food and water bowls, consider investing in a snood. A snood is a stretchy fabric tube that you can slip over their ears during meal times, keeping them clean and dry. Snoods That Keep Cavalier Ears Out of Dinner can be a game-changer for many owners, preventing food particles and moisture from accumulating on the ear leather and wicking into the canal.
Diet and Allergies: An Unexpected Connection
It might seem counterintuitive, but your Cavalier's diet and any underlying allergies can play a huge role in their ear health. Many chronic ear infections, especially those that recur frequently despite diligent cleaning, are often a secondary symptom of an allergic reaction. Just like humans can get itchy skin or sneezing from allergies, dogs often manifest allergies as skin issues (itching, redness) or, very commonly, as chronic ear inflammation and infections. The ears become inflamed, producing more wax, which then traps moisture and creates a welcoming environment for yeast and bacteria. You can read more about Whether Cavalier Ear Infections Are Allergic.
If your Cavalier is constantly battling ear problems, it's worth discussing potential allergies with your vet. They might suggest a food trial with a novel protein or hydrolyzed protein diet to rule out food allergies, or they might recommend allergy testing to identify environmental allergens like pollen, dust mites, or molds. Addressing the primary allergic trigger can dramatically reduce the frequency and severity of ear infections. For instance, brands like Ollie, which offers customized fresh food, or specific veterinary prescription diets (available through your vet or often online via platforms like Chewy with a prescription) might be considered if food allergies are suspected. Remember, simply treating the infection without addressing the underlying allergy is like constantly mopping up a leak without fixing the leaky pipe.
When to Seek Professional Veterinary Help
Knowing when to clean at home and when to call the vet is crucial. If you're ever in doubt, err on the side of caution and consult your veterinarian. You should definitely seek professional help if you notice any of the following:
- Intense Pain: Your Cavalier cries out or acts aggressively when their ear is touched.
- Swelling or Redness: Significant inflammation of the ear flap or canal.
- Foul Odor and Excessive Discharge: A strong, unpleasant smell combined with a lot of dark, yellow, green, or bloody discharge.
- Head Tilt or Balance Issues: These could indicate a deeper inner ear infection.
- Lack of Improvement: If home cleaning doesn't resolve minor issues within a day or two, or if symptoms worsen.
- Recurrent Infections: If your Cavalier seems to get ear infections frequently, there's likely an underlying cause that needs investigation, as we discussed with allergies.
Your vet can accurately diagnose the problem, prescribe appropriate medication (such as ear drops or oral antibiotics), and provide guidance on long-term management strategies. They can also perform a thorough ear examination, possibly using an otoscope to look deep into the canal, something you can't safely do at home. Don't feel guilty about needing a vet; sometimes, an ear problem is simply beyond home care, and getting professional help quickly is the kindest thing you can do for your Cavalier.
Making Ear Cleaning a Positive Experience for Both of You
Let's face it, ear cleaning isn't usually a Cavalier's favorite activity, nor is it often ours! But it doesn't have to be a dreaded battle. With the right approach, you can transform it into a routine that your Cavalier tolerates, or even looks forward to, because they associate it with positive things.
Building a Positive Association from Puppyhood
The key to a cooperative Cavalier lies in starting early. If you have a puppy, begin desensitizing them to ear handling from day one. Gently touch their ears, lift the flaps, and softly rub around the ear canal for just a few seconds, then immediately follow with praise and a high-value treat. Make it a game, not a chore. Repeat this several times a day, gradually increasing the duration of the handling. This helps your puppy learn that ear touches predict good things.
As your puppy gets older, you can introduce the actual cleaning process in stages. First, just show them the ear cleaner bottle, let them sniff it, and give a treat. Then, put a tiny drop of cleaner on a cotton ball and gently touch it to their ear, followed by a treat. Slowly build up to the full process, always keeping sessions short, positive, and ending on a good note. If you rush or force the issue, you risk creating a negative association that will make future cleanings much harder. Remember, a few seconds of positive exposure multiple times a day is far more effective than one long, stressful session.
Strategies for Anxious or Resistant Cavaliers
If your Cavalier is already an adult and has a strong aversion to ear cleaning, perhaps from past negative experiences or discomfort, don't despair. It will take more patience and consistent effort, but you can still turn the tide. The core principle remains positive reinforcement. Start by identifying what truly motivates your Cavalier – is it a special treat, a favorite toy, or a belly rub? Use that as your reward.
Break the cleaning process down into tiny, achievable steps. For example, if your Cavalier hates having their ears touched, start by simply touching their shoulder, then treating. Gradually move closer to the ear, rewarding every step of cooperation. Once they tolerate ear touching, introduce the ear cleaner visually, then audibly (letting them hear the squirt from a distance), always pairing it with a reward. Use calming tones, keep your movements slow and deliberate, and never force them. If they pull away, let them, and try again when they are calmer. Sometimes, having a second person to distract with treats can be helpful. If you're still struggling, consider consulting a professional dog trainer or your vet for more specific behavioral modification techniques. They can offer strategies that align with your Cavalier's individual personality and anxiety triggers.
Consistency is Key to Long-Term Success
Ultimately, consistency is the magic ingredient for long-term ear health and a cooperative Cavalier. Establishing a regular routine, whether it's weekly, bi-weekly, or monthly, helps your dog know what to expect. It becomes just another part of their care, like brushing their coat or having their nails trimmed. This predictability reduces anxiety and makes the process smoother for everyone involved.
Regularity also allows you to stay on top of any developing issues. By consistently checking and cleaning, you're more likely to spot a minor problem before it escalates into a painful infection, saving your Cavalier discomfort and you a vet bill. It reinforces the positive association you've built, making each subsequent cleaning easier. Think of it as investing in your Cavalier's comfort and health for years to come. A little effort consistently applied goes a very long way in keeping those adorable, floppy ears in tip-top condition.
| Aspect | Healthy Cavalier Ear | Problematic Cavalier Ear |
|---|---|---|
| Appearance | Pale pink, clean skin, minimal light wax | Redness, swelling, crusting, dark/yellow/bloody discharge |
| Odor | No noticeable odor | Strong, yeasty, foul, or pungent smell |
| Behavior | No scratching, head shaking, or pain when touched | Excessive scratching, head shaking, rubbing, pain/yelping |
| Discharge | Minimal, light-colored waxy residue | Excessive, dark, clumpy, or pus-like discharge |
| Touch | Smooth, dry, not greasy or hot to the touch | Greasy, hot, moist, or lumpy |
| Hair | Sparse and clean inside canal entrance | Matted with discharge, wet-looking |
Disclaimer
This article is for general informational purposes only and does not constitute professional advice. Laws, prices and regulations vary by location and change over time. Consult a qualified professional for guidance on your specific situation.