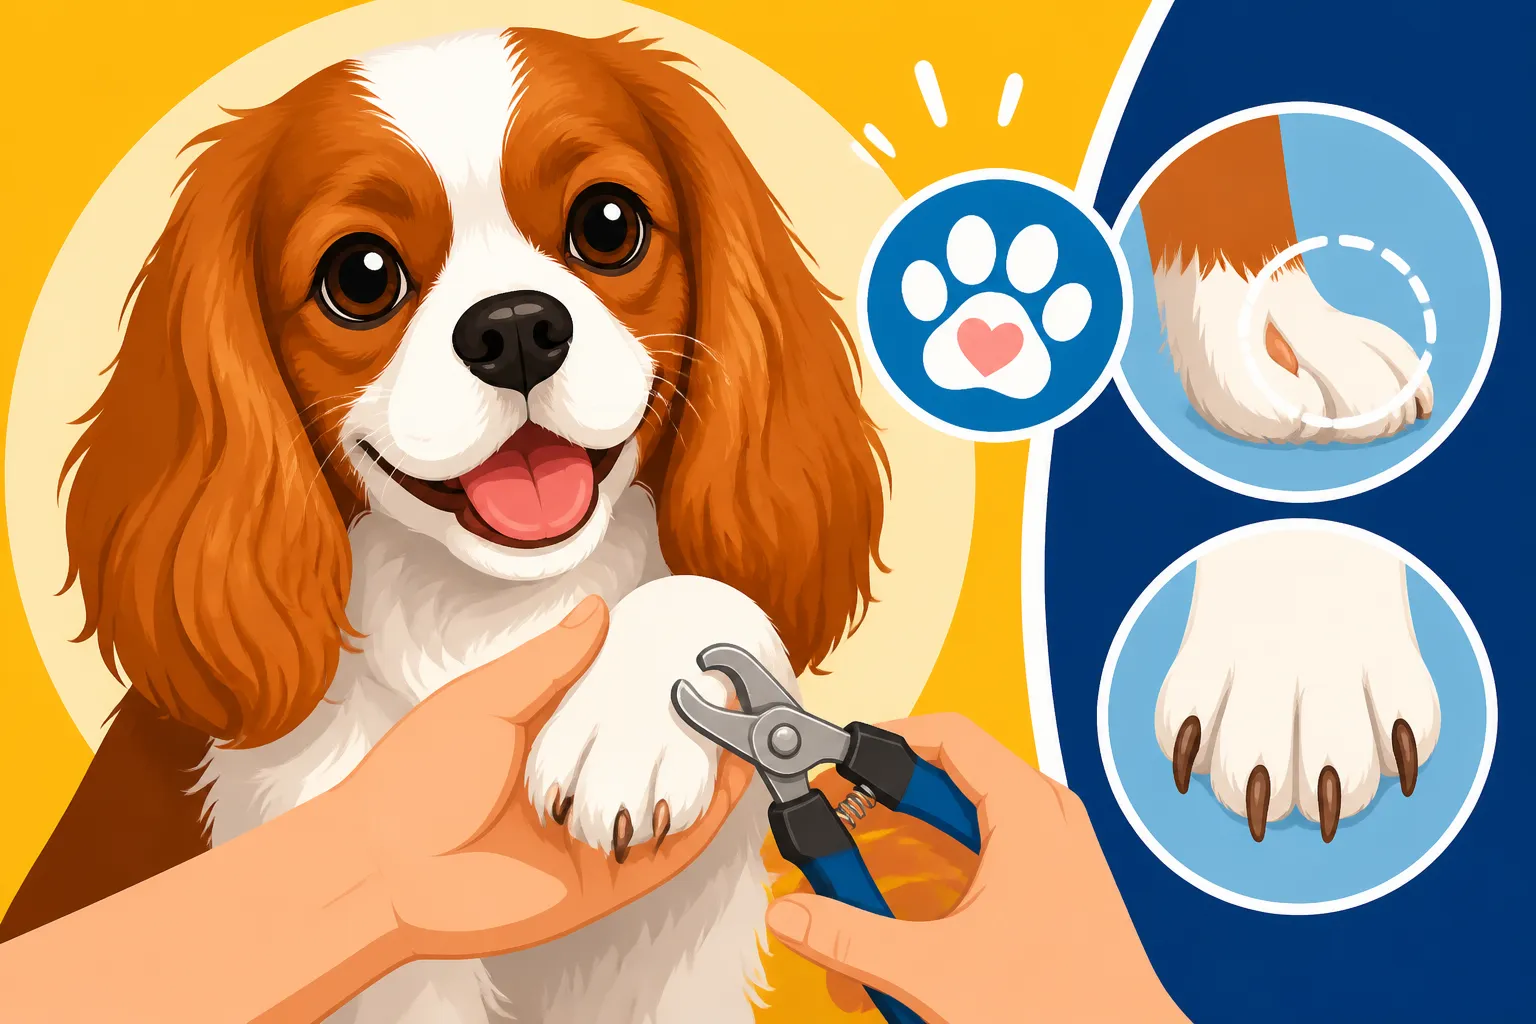
Trimming a Cavalier’s Nails and Dewclaws
One of the trickiest parts of caring for our beloved Cavalier King Charles Spaniels often involves their paws, specifically keeping those nails neatly trimmed. It’s a task many of us dread, fraught with the fear of cutting too far back and causing pain, especially with those tiny, dark nails. But neglecting this crucial bit of grooming can lead to discomfort, pain, and even long-term health issues for our Cavaliers. This guide is here to walk you through everything you need to know to make nail trimming a less daunting, and even positive, experience for both you and your sweet-natured companion.
Why Those Tiny Toes Need Big Attention: The Importance of Regular Nail Trimming
It’s easy to overlook a few extra millimeters on your Cavalier's nails, especially when they’re so fluffy and busy cuddling. However, those seemingly small bits of nail can have a disproportionately large impact on your dog’s overall well-being. Think of it this way: your Cavalier's paws are their foundation, carrying them through every joyful romp, every sofa leap, and every gentle patter across your floors. When that foundation is compromised by overgrown nails, the effects can ripple throughout their entire body.
The issue isn't just cosmetic; it's deeply rooted in biomechanics and comfort. Long nails force your Cavalier's toes to splay out and push back into the nail bed, which can be incredibly uncomfortable, akin to us walking around in shoes that are too small. This constant pressure and unnatural angle don't just go away; they create ongoing stress on the toe joints and surrounding structures. It’s a silent, daily discomfort that your Cavalier might not vocalize directly, but it manifests in subtle ways, from a reluctance to walk to a change in their normally bouncy gait.
The Domino Effect of Long Nails on Cavalier Health
When your Cavalier's nails become too long, they actually push their toes upward and backward, forcing the paw to sit at an unnatural angle. This isn't just awkward; it puts continuous pressure on the foot and toe joints, which can be genuinely painful over time. Imagine trying to walk with your fingers constantly curled up, pushing against the tips of your shoes – that’s essentially what long nails do to your Cavalier. This abnormal pressure can lead to a condition called splayed feet, where the toes spread out wider than they should, reducing stability and increasing the risk of injury.
Beyond just the immediate paw discomfort, overgrown nails can have a detrimental effect on your Cavalier's entire skeletal structure. When their nails are too long, they can't properly grip surfaces, leading to instability. To compensate, your Cavalier might shift their weight, altering their natural gait and posture. This subtle change in how they move can put undue stress on their legs, hips, and even their spine. Over months and years, this constant misalignment can contribute to the development or worsening of conditions like arthritis, especially in an older Cavalier already prone to joint issues. It's a compounding problem that starts small but can grow into a significant source of chronic pain and reduced mobility.
Furthermore, long nails are more prone to snagging, breaking, or tearing. A torn nail is not only incredibly painful but can also lead to bleeding, infection, and a trip to the vet. These injuries are often much more traumatic and expensive to treat than a routine nail trim. Even without acute injury, nails that curve under and grow into the paw pad are a very real, and very painful, possibility, leading to deep infections and requiring veterinary intervention. This entire cascade of potential issues underscores just how vital regular nail maintenance is – it's not a luxury, but a fundamental part of responsible pet ownership, preventing a host of painful problems down the line for your sweet companion.
Getting to Know Your Cavalier's Paws: Nails and Dewclaws
Before you even pick up the clippers, it’s incredibly helpful to understand the basic anatomy of your Cavalier's paws and nails. Each nail consists of two main parts: the outer keratinized shell, which is the hard, insensitive part you trim, and the "quick." The quick is essentially the nerve and blood supply to the nail. It's often pinkish in light-colored nails, making it easier to identify, but in dark-colored nails – which many Cavaliers have – it's much harder to see, hiding within the nail itself. When you cut into the quick, it causes pain and bleeding, which is what we all desperately try to avoid. The goal of trimming is to cut the insensitive outer shell without touching this delicate quick, gradually encouraging it to recede over time with consistent, short trims.
Then there are the dewclaws. Many people forget about these or aren't even sure what they are! Dewclaws are those small, thumb-like nails located on the inside of your Cavalier's front legs, slightly higher up on the leg than their main paw pads. Some Cavaliers might also have them on their hind legs, though this is less common. Unlike the other nails, dewclaws typically don't touch the ground when your dog walks, meaning they don't get naturally worn down. Because of this, they are particularly susceptible to becoming extremely overgrown, curling around and potentially growing into the leg itself, causing significant pain and infection. They can also snag on things, leading to painful tears. Therefore, it's absolutely crucial to remember to trim your Cavalier’s dewclaws along with their other nails; they need just as much, if not more, attention.
Arming Yourself: The Best Tools for Cavalier Nail Maintenance
Walking into a pet supply store or browsing online can be overwhelming with the sheer number of nail care tools available. For a Cavalier King Charles Spaniel, their relatively small size and often sensitive nature mean that not just any tool will do. Choosing the right equipment isn't just about efficiency; it's about safety, comfort, and building a positive association with the process. The last thing you want is a tool that causes distress or injury, making future nail trims a battle. Investing in quality tools designed for small to medium-sized breeds will make a world of difference for both you and your furry friend.
It's tempting to grab whatever is cheapest or most convenient, but this is one area where quality really matters. Blunt clippers can crush the nail rather than cut cleanly, causing pain even if you don't quick your dog. Similarly, a noisy, vibrating grinder can be incredibly off-putting if your Cavalier is already sensitive to sounds or new sensations. Taking the time to research and select appropriate tools sets the stage for a much smoother, less stressful grooming routine. Think of it as preparing for a delicate operation – having the right instruments in hand ensures a better outcome and less anxiety for everyone involved.
Deciphering the Clipper vs. Grinder Debate for Cavaliers
When it comes to trimming your Cavalier's nails, the primary choice usually comes down to traditional clippers or an electric grinder. Both have their devotees and their drawbacks, and the best choice often depends on your Cavalier's temperament, your own comfort level, and the specific characteristics of their nails.
Traditional Clippers: There are generally two main types of clippers: guillotine-style and scissor-style.
- Guillotine clippers have a small hole you insert the nail into, then squeeze the handle to deploy a blade that cuts the nail. They can be very effective for quick, clean cuts if the blade is sharp, but they can sometimes be tricky to maneuver for precise angles on smaller paws.
- Scissor-style clippers, which resemble small, sharp scissors, are often favored by many Cavalier owners. They give you a better visual of the nail and allow for more controlled, smaller cuts. For a toy breed like a Cavalier, these are often easier to handle, especially if your dog has smaller, finer nails. When choosing clippers, regardless of style, always ensure they are sharp; dull blades can pinch, crush, and cause discomfort even before the cut is made. Look for ergonomic handles for your comfort, too. You can find reliable scissor-style clippers on platforms like Amazon or Chewy, making sure to select a size appropriate for small dogs.
Electric Grinders: Nail grinders use a rotating abrasive bit to gradually file down the nail.
- Pros: Many owners find grinders reduce the risk of quicking, as you remove small amounts of nail at a time. This method also leaves the nail smooth, preventing sharp edges that can scratch you or snag on carpets. For Cavaliers with dark nails where the quick is invisible, a grinder allows for a more cautious approach. It can also be excellent for desensitizing a dog who is terrified of clippers, as it's a different sensation.
- Cons: Grinders can be noisy and vibrate, which can be alarming to some dogs. The process generally takes longer than clipping, requiring your Cavalier to tolerate having their paw held for extended periods. There’s also the risk of the nail heating up from friction if you grind too long in one spot, so short bursts are key. If you're considering a grinder, look for one with variable speeds and a quiet motor. Whether a Grinder Suits Cavalier Nails is a great article if you're still on the fence.
Ultimately, the best tool is the one you and your Cavalier are most comfortable with and can use safely and effectively. Some owners even use a combination, clipping the bulk off with clippers and then refining the edges with a grinder.
Beyond the Clippers: Essential Supplies for a Stress-Free Trim
While clippers or a grinder are the stars of the show, there are several supporting actors that are absolutely critical for a smooth, safe, and positive nail trimming experience for your Cavalier. Thinking ahead and having these items readily available before you even start can dramatically reduce stress for both of you.
First and foremost, you absolutely must have styptic powder on hand. This is non-negotiable. No matter how careful you are, accidents happen, and you might nick the quick. Styptic powder, like Kwik Stop, is a miracle worker for quickly stopping bleeding. A tiny pinch applied to the bleeding nail will coagulate the blood and stop the flow. Trying to find it mid-trim, with a bleeding, startled dog, is a recipe for disaster. Keep it within arm's reach every single time you attempt a nail trim. You can usually find styptic powder at any good pet store or online on sites like Chewy.
Next up: high-value treats! Cavaliers are generally very food-motivated, and treats are your secret weapon for making nail trims tolerable, even enjoyable. Think about what your Cavalier goes absolutely wild for – cheese, cooked chicken, a special soft treat they rarely get. These aren't just bribes; they're positive reinforcement. Every nail trimmed, every moment of calm cooperation, should be immediately followed by a tasty reward. This helps your Cavalier associate nail trims with good things, building a positive emotional response over time. Don't be stingy; this is an investment in future cooperative behavior.
Finally, consider your environment and other comfort items. Good lighting is paramount. You need to clearly see the nail, especially if your Cavalier has dark nails, to better identify the quick. A strong overhead light or even a headlamp can be invaluable. A non-slip surface, like a bath mat or a textured towel, can help your Cavalier feel more secure if they're standing or lying on a smooth table or floor. This stability can reduce anxiety. Some owners also like to have a small, soft brush or comb nearby for a little soothing stroke after each successful paw. Handling Exercises for a Cavalier Puppy can also help introduce these items gently from a young age.
The Art of the Gentle Trim: A Step-by-Step Cavalier Approach
Even with the best tools, the actual process of trimming your Cavalier's nails can feel like a high-stakes operation. It doesn't have to be a wrestling match or a source of dread. The key is to approach it with patience, positivity, and a clear understanding of the technique. Remember, your Cavalier picks up on your emotions, so if you're tense and anxious, they will be too. Taking a deep breath and maintaining a calm demeanor is the first step in creating a better experience for both of you.
This isn't just about cutting nails; it's about building trust and communication with your dog. Every successful, calm interaction during a nail trim reinforces that trust. It’s a testament to the bond you share, proving to your Cavalier that you’re not going to hurt them and that even slightly uncomfortable experiences can be positive when they're with you. The goal is steady progress, not perfection, especially in the beginning.
Building Trust: Making Nail Time a Positive Experience
For many Cavaliers, especially those not introduced to nail trims early in life, the whole idea can be a source of anxiety. The strange feeling, the sound of the clippers, the restraint – it’s a lot for a small dog. That’s why building a positive association is absolutely paramount. You can't just spring it on them and expect cooperation; you need to gradually desensitize them to the process.
Start small, long before you even consider making a cut. Begin by simply handling your Cavalier's paws regularly. Touch their toes, gently squeeze their paw pads, and get them used to you manipulating their feet. Do this for short bursts, a few times a day, always pairing it with calm praise and those high-value treats we talked about. The goal here is to make paw handling a normal, pleasant interaction, not just something that happens right before a dreaded trim. You want them to relax when you touch their paws, not tense up.
Once they're comfortable with paw handling, introduce the tools. Don't even try to trim yet. Just bring out the clippers or turn on the grinder (from a distance at first). Let your Cavalier sniff them, give them a treat. Gradually move the tools closer, touching them lightly to their paws without actually cutting or grinding. The sound of the grinder can be particularly startling, so let them hear it running while they’re eating a delicious treat, slowly reducing the distance over several days or weeks. This gradual exposure, always coupled with positive reinforcement, helps to neutralize any fear or apprehension. You're teaching them that the tools aren't scary, and that 'nail time' means good things will happen.
Precision Trimming: Nailing the Technique for Paws and Dewclaws
Once your Cavalier is more relaxed with paw handling and the sight/sound of the tools, you can move on to the actual trimming. Find a comfortable, well-lit spot where you can sit with your Cavalier. Some owners prefer to have their dog lie on their lap, others prefer them sitting or standing on a table. Choose whatever position is safest and most relaxing for your dog. Have your treats and styptic powder within easy reach.
To trim, gently but firmly hold one of your Cavalier's paws. Extend a toe so the nail is clearly visible. If your Cavalier has light-colored nails, you'll see the pink quick inside. Aim to cut just beyond the quick, taking off only the very tip of the white nail. If their nails are dark, which is common for many Cavaliers, the quick is much harder to spot. In this case, you'll want to take off tiny, small increments. After each tiny snip, look at the cut surface of the nail. Initially, it will look white and dusty. As you get closer to the quick, you might see a small grey or pinkish dot in the center of the white. That's your cue to stop! That dot means you are very close to the quick. It’s always better to make several small cuts than one big, risky cut. Remember, you're not trying to achieve perfectly short nails in one go; consistency over time will help the quick recede naturally.
Don't forget the dewclaws! These often grow unchecked and can curl around into the leg, causing immense pain. The technique for dewclaws is the same as for the other nails: hold the dewclaw firmly, identify the quick if possible, and trim the tip. Because dewclaws don't get worn down, they often grow longer and thicker, sometimes making the quick longer too. Again, small, frequent trims are key. If you're using a grinder, aim the rotating bit at the tip of the nail, gently filing it down in short bursts, moving from side to side to avoid friction heat. Always remember to praise and reward your Cavalier throughout the process, especially after each successful nail or paw. This positive reinforcement solidifies the good experience and makes the next trim that much easier.
What to Do If You "Quick" Your Cavalier
Despite all your careful preparation and best intentions, there might be a time when you accidentally cut into the quick. It happens to even the most experienced groomers and owners, so don't beat yourself up about it. The immediate reaction will likely be a yelp or a pull-back from your Cavalier, followed by bleeding. While it can look alarming, it's usually not serious, but it is important to address it calmly and efficiently to prevent further distress.
The very first thing you need to do is stay calm. Panicking will only make your Cavalier more anxious and can make the situation worse. Gently but firmly hold the bleeding paw and immediately reach for that styptic powder you wisely kept close by. Take a pinch of the powder and apply it directly to the bleeding tip of the nail. You might need to hold it there with gentle pressure for a few seconds. The powder works by constricting the blood vessels and helping the blood to clot quickly. If you don't have styptic powder, a clean cloth with some cornstarch or flour can act as a temporary measure, but styptic powder is by far the most effective.
Once the bleeding has stopped, offer your Cavalier a truly irresistible, high-value treat and lots of calm, reassuring praise. You want to counteract the negative experience as quickly as possible. Don't try to continue trimming other nails immediately. Give them a break, perhaps even for a few hours or a day. The goal is to minimize the trauma and prevent them from developing a lasting fear of nail trims. If the bleeding doesn't stop after a few minutes of applying styptic powder, or if the wound appears deep or unusually painful, it's always best to contact your veterinarian for advice. For Nail Trim Costs for a Cavalier you might find that professional trims are worth it if you're consistently running into trouble.
Special Considerations for Cavalier Nail Health
Cavalier King Charles Spaniels, with their unique physiology and common health predispositions, can present a few specific challenges when it comes to nail care. It’s not a one-size-fits-all approach, and understanding these nuances can help you tailor your routine to their individual needs, ensuring both their comfort and their long-term health. From the particular sensitivities of aging Cavaliers to the mysterious nature of their often-dark nails, a little extra knowledge goes a long way.
Being proactive and observant are your best tools here. Paying close attention to how your Cavalier reacts, how their nails are growing, and any changes in their mobility can help you adjust your approach before small issues become big problems. It’s about listening to your dog and anticipating their needs, a hallmark of responsible Cavalier ownership.
The Senior Cavalier: Gentle Care for Aging Paws
As our beloved Cavaliers move into their golden years, their needs often change, and nail care is no exception. Older Cavaliers might experience arthritis, particularly in their paws and joints, making it uncomfortable or even painful to have their feet handled or to stand for extended periods. Their patience might also wear thin more quickly, and general anxiety can increase with age. What was once a routine trim might now require extra sensitivity and adjustments to your approach. You might find a previously cooperative dog becomes more resistant or vocal.
When trimming the nails of a senior Cavalier, gentleness is paramount. Choose a time when they are relaxed and comfortable, perhaps after a nap or a gentle stroll. Instead of a standing position, try letting them lie down on a soft, supportive bed or cushion that helps alleviate pressure on their joints. You might need to work in even shorter sessions, perhaps only trimming one or two nails at a time, spreading the task over a couple of days. Pay close attention to their body language; any signs of discomfort or pain mean you should stop and reassess. Consider using a grinder instead of clippers, as the smooth filing action can be less jarring than the sharp "snip" of clippers, which might aggravate sensitive joints.
Furthermore, ensure your senior Cavalier is warm and well-supported during the process. Their circulation might not be as robust, and they might chill more easily. A warm blanket draped over them can be comforting. If your Cavalier struggles significantly with pain or anxiety during nail trims, it might be worth discussing with your veterinarian or a professional groomer. They might recommend mild sedatives for the process or suggest alternative techniques. Addressing underlying pain, perhaps through Pain Management for a Senior Cavalier, can also make them more tolerant of handling. Sometimes, a professional might be able to get the job done more quickly and with less stress, even if it means a trip to the vet's office for a quick trim. Grooming an Older Cavalier That Cannot Stand Long provides further insights into adapting grooming for older dogs.
The Mystery of Dark Nails: Locating the Elusive Quick
One of the most common frustrations for Cavalier owners is dealing with those notoriously dark nails. While light-colored nails offer a helpful visual cue – the pink quick – dark nails are like a black box, hiding the quick from plain sight. This makes the fear of "quicking" your dog much more potent, often leading owners to trim too little, or to avoid it altogether, resulting in overgrown nails. But with a few tricks and a good dose of caution, you can confidently trim dark nails.
The key to successfully trimming dark nails is a combination of excellent lighting, tiny cuts, and careful observation. As mentioned before, a bright overhead light or even a headlamp can illuminate the nail more effectively. When you make a small snip, observe the freshly cut surface. With dark nails, the initial cut will reveal a solid, dusty white or grey center. As you continue to take very small, thin slices off the tip, you'll eventually start to see a darker, often greyish-pink or blackish dot appear in the very center of that white area. This distinct dot signals that you are very close to the quick. At this point, it's time to stop trimming that particular nail, or switch to a grinder for a more controlled approach, feathering off just the very outermost edge.
Another helpful technique, especially if you're using clippers, is to use what’s called "the angle approach." Instead of cutting straight across, make a small cut from each side of the nail, angling slightly towards the center. This creates a sharper point and helps you avoid the quick while still removing length. With consistent, frequent small trims (every 1-2 weeks), the quick itself will actually recede over time. This is because the quick grows along with the nail if the nail isn't trimmed. By consistently trimming back the insensitive part just before the quick, you encourage the quick to shorten, making future trims easier and safer. Patience and consistency are truly your best allies when navigating the challenge of dark Cavalier nails.
Consistency is Key: Maintaining Optimal Nail Length
You might be wondering, "How often do I really need to trim my Cavalier's nails?" The answer is that consistency is far more important than any rigid schedule, and more frequent, smaller trims are almost always better than infrequent, drastic ones. For most Cavaliers, a trim every two to four weeks is a good general guideline, but this can vary depending on their activity level, the surfaces they walk on, and how quickly their nails grow.
The reason consistency is so vital ties back to the quick. If you only trim your Cavalier's nails every few months, the quick will have grown out with the nail, making it incredibly difficult to trim them short enough without hitting that sensitive blood vessel. This perpetuates the cycle of long nails, discomfort, and the fear of quicking. By trimming more frequently, even if it's just taking off tiny, tiny slivers, you are continuously encouraging the quick to recede. Over time, you’ll notice that you can safely trim your Cavalier’s nails shorter and shorter, getting them to a much healthier length.
Think of it as a continuous maintenance task rather than a sporadic chore. Incorporate nail checks and potential trims into your regular Cavalier Grooming Costs Every Six to Eight Weeks or even weekly grooming routine. This helps to normalize the process for your dog and keeps their nails in optimal condition, preventing them from ever becoming overgrown to the point of discomfort or injury. Short, regular sessions also mean less stress for your Cavalier and less chance of them becoming resistant. If you're using a grinder, frequent, brief sessions are also beneficial for preventing the nail from heating up due to friction. Regularity truly makes the entire process easier, safer, and much more beneficial for your Cavalier's overall paw health and comfort.
When to Call in the Professionals: Groomers and Vets
While many Cavalier owners successfully manage nail trims at home, there are certainly situations where professional help is not just beneficial, but necessary. It's important to recognize your limits and understand when it's time to enlist the expertise of a professional groomer or your veterinarian. There's absolutely no shame in seeking assistance; in fact, it's a sign of responsible pet ownership to prioritize your Cavalier's comfort and safety above all else. Trying to force a nail trim when your dog is genuinely distressed can damage your bond and make future attempts even harder.
Remember, the goal is always your Cavalier's well-being. If DIY methods are causing undue stress, fear, or pain, then it's time to explore other options. Professionals have experience, specialized tools, and often a different approach that can make a world of difference for a resistant or anxious dog. Don't let pride get in the way of what's best for your furry friend.
Recognizing the Signs: When DIY Isn't Enough
Sometimes, despite your best efforts, positive reinforcement, and all the high-value treats in the world, nail trimming at home just doesn't work out. It's crucial to recognize these signs and understand when it's time to seek professional help. One of the most obvious indicators is severe anxiety or aggression from your Cavalier during nail trims. If your usually sweet-natured dog becomes a snapping, biting, or genuinely terrified mess when the clippers come out, pushing through it can be detrimental to your relationship and their emotional well-being. Repeated traumatic experiences can create a lasting fear that's very difficult to overcome.
Another clear sign is if your Cavalier's nails are deeply overgrown or curling. If the quick has grown out significantly, or if the nails have started to curve under and even grow into the paw pads, this becomes a more complex and painful issue that often requires specialized tools and expertise. Trying to tackle deeply overgrown nails at home can be incredibly risky, increasing the likelihood of quicking your dog and causing severe pain. In such cases, a vet might even recommend sedation for a safe and pain-free initial trim to reset the nail length, after which you might be able to maintain them at home.
Finally, if you simply lack confidence or have past trauma from quicking your dog, it's okay to admit that. Your apprehension will transfer to your Cavalier, making the process harder. Similarly, if you find yourself constantly postponing trims out of dread, leading to overgrown nails, then outsourcing this task to a professional is a much better solution for everyone involved. What a Groomer Charges for a Cavalier varies, but it’s an investment in your dog's health and your peace of mind.
Partnering with Your Vet or Groomer for Success
Once you've decided that professional assistance is the way to go, your next step is to find the right person for the job. You have two main options: a professional dog groomer or your veterinarian/vet tech. Both can be excellent choices, but they offer slightly different services.
Professional Groomers: Many groomers offer stand-alone nail trimming services, and some are particularly skilled with anxious or difficult dogs. When choosing a groomer, ask about their experience with Cavaliers and their approach to nervous dogs. Do they use positive reinforcement? Are they patient? Do they offer both clipping and grinding? A good groomer understands that a gentle, calm approach is key. They often have specialized equipment and techniques that can make the process quicker and less stressful. You can even sometimes schedule "happy visits" where your Cavalier just goes in for a treat and a quick positive interaction without a trim, helping them build trust with the groomer over time. Platforms like Chewy or Amazon might not list local groomers, but online reviews and local pet communities are great resources for recommendations.
Veterinarians/Vet Techs: Your vet's office is also an excellent resource, especially if your Cavalier has underlying health conditions that might impact the trim, or if they are extremely anxious or aggressive. Vet techs are highly skilled at handling dogs and performing nail trims, and they have the medical knowledge to deal with any complications. For extremely fearful dogs, your veterinarian can prescribe mild sedatives or offer in-clinic sedation to perform the trim safely and without trauma. This might be a more expensive option than a groomer, but for some dogs, it's the kindest and safest route, preventing further negative associations. Discussing this with your vet can also open up conversations about Anesthesia Risk in a Cavalier With a Murmur if sedation is considered. Regardless of who you choose, maintaining a consistent schedule with your chosen professional is just as important as if you were doing it at home, ensuring your Cavalier's nails stay at a healthy length.
Disclaimer
This article is for general informational purposes only and does not constitute professional advice. Laws, prices and regulations vary by location and change over time. Consult a qualified professional for guidance on your specific situation.