Tidying a Cavalier’s Hocks and Ear Fringe
If you're a Cavalier owner, you know that their glorious, silky feathering is one of their most charming features. But let's be honest, that beautiful long hair, especially on their hocks and those magnificent ear fringes, can go from elegant to unruly surprisingly fast. It can get tangled, matted, and just plain messy, making your sweet pup look a bit disheveled and potentially causing discomfort. This guide is all about tackling those specific areas, walking you through how to keep your Cavalier's hocks and ear fringe neat, tidy, and healthy, all from the comfort of your own home.
Why Cavalier Hocks and Ear Fringe Need Regular Tidying
It’s easy to think of grooming as purely cosmetic, something done just to keep your Cavalier looking picture-perfect for social media or a trip to the park. While a well-groomed Cavalier is certainly a sight to behold, the truth is that tidying their hocks and ear fringe goes far beyond just appearances. These areas are prone to specific problems that can impact your dog's comfort and health, making regular maintenance a crucial part of responsible Cavalier ownership.
The Practical Side of Long Feathering
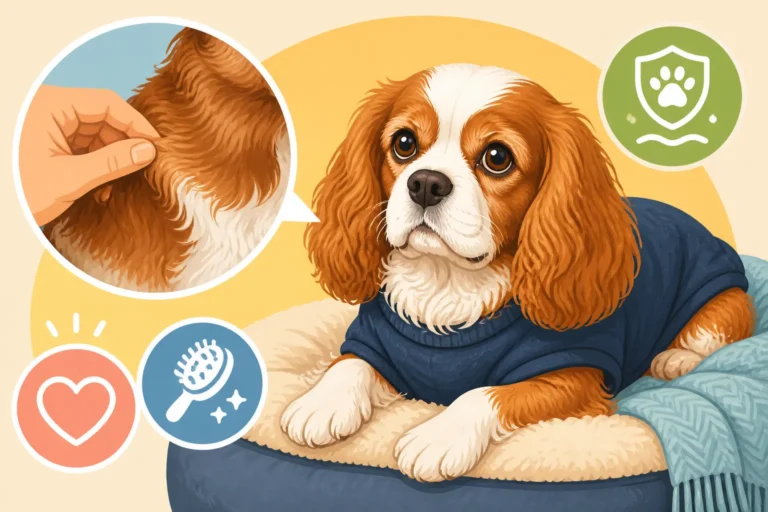
The long, silky feathering that graces a Cavalier's hocks (the part of their hind leg that looks like an ankle) and ears is simply stunning, but it's also a magnet for trouble. Think about it: when your Cavalier trots through the yard, those hock feathers drag through grass, mud, leaves, and whatever else the day throws at them. They pick up burrs, foxtails, twigs, and all sorts of debris that can quickly become embedded, forming painful mats. These mats aren't just ugly; they pull on the skin, causing irritation, redness, and can even lead to skin infections if left unchecked. A severely matted hock can make walking uncomfortable, restricting your dog's natural movement and making them reluctant to play or even go for a walk.
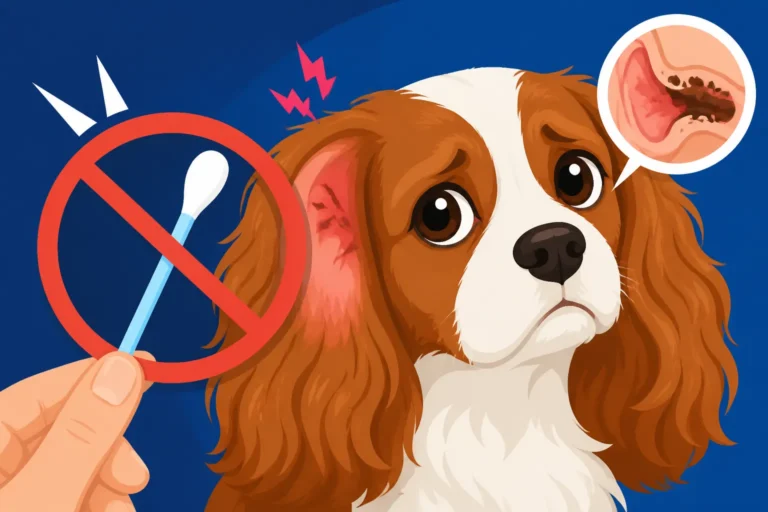
Similarly, those gorgeous, floppy ears with their abundant fringe are often dipping into water bowls, dragging along the ground when they sniff, and generally getting into everything. The long hair can easily become wet and stay damp for extended periods, creating a warm, moist environment perfect for yeast and bacteria to flourish. This is a common precursor to ear infections, something many Cavalier owners sadly know all too well. Beyond that, tangled ear fringe can become weighty, pulling on the delicate ear leather and contributing to discomfort. Keeping these areas trimmed to a manageable length helps reduce the amount of debris they collect and makes it much easier for you to keep them clean and dry. It's about proactive care to prevent bigger, more painful problems down the line. You can learn more about managing recurrent issues in Cavalier Ear Infections and Why They Recur.
Maintaining the Breed Standard Look
For many Cavalier owners, there’s also the desire to maintain that classic, elegant Cavalier look. While the breed standard for Cavaliers emphasizes a natural coat, with no trimming or clipping expected, it does allow for tidying. The goal isn't to create a sculpted, artificial look, but rather to enhance their natural beauty by neatening unruly areas. Overly long or shaggy hock feathering can make a Cavalier look a bit clumsy or heavy-legged, detracting from their graceful gait. Trimming these areas subtly helps to highlight their natural contours and keeps them looking balanced.
The ear fringe is another area where tidying can make a big difference in maintaining that quintessential Cavalier expression. While you'd never want to chop off their ear fringe, a slight trim to remove straggly ends can make the ears appear fuller and healthier, framing their sweet face beautifully. It gives them a polished, well-cared-for appearance without changing their inherent charm. It's a delicate balance of careful maintenance that respects the natural flow of their coat while preventing it from becoming a tangled mess. This careful attention to detail ensures your Cavalier looks their best, reflecting the pride you take in their care.
Essential Tools for Cavalier Feathering Maintenance
Before you even think about picking up a pair of scissors, gathering the right tools is paramount. Trying to tackle tangles with the wrong brush or attempting a precise trim with dull, inappropriate scissors is a recipe for frustration for both you and your Cavalier. Investing in a few key items will make the entire process smoother, safer, and far more effective, ensuring your dog's comfort and your peace of mind.
Brushes, Combs, and Scissors You'll Need
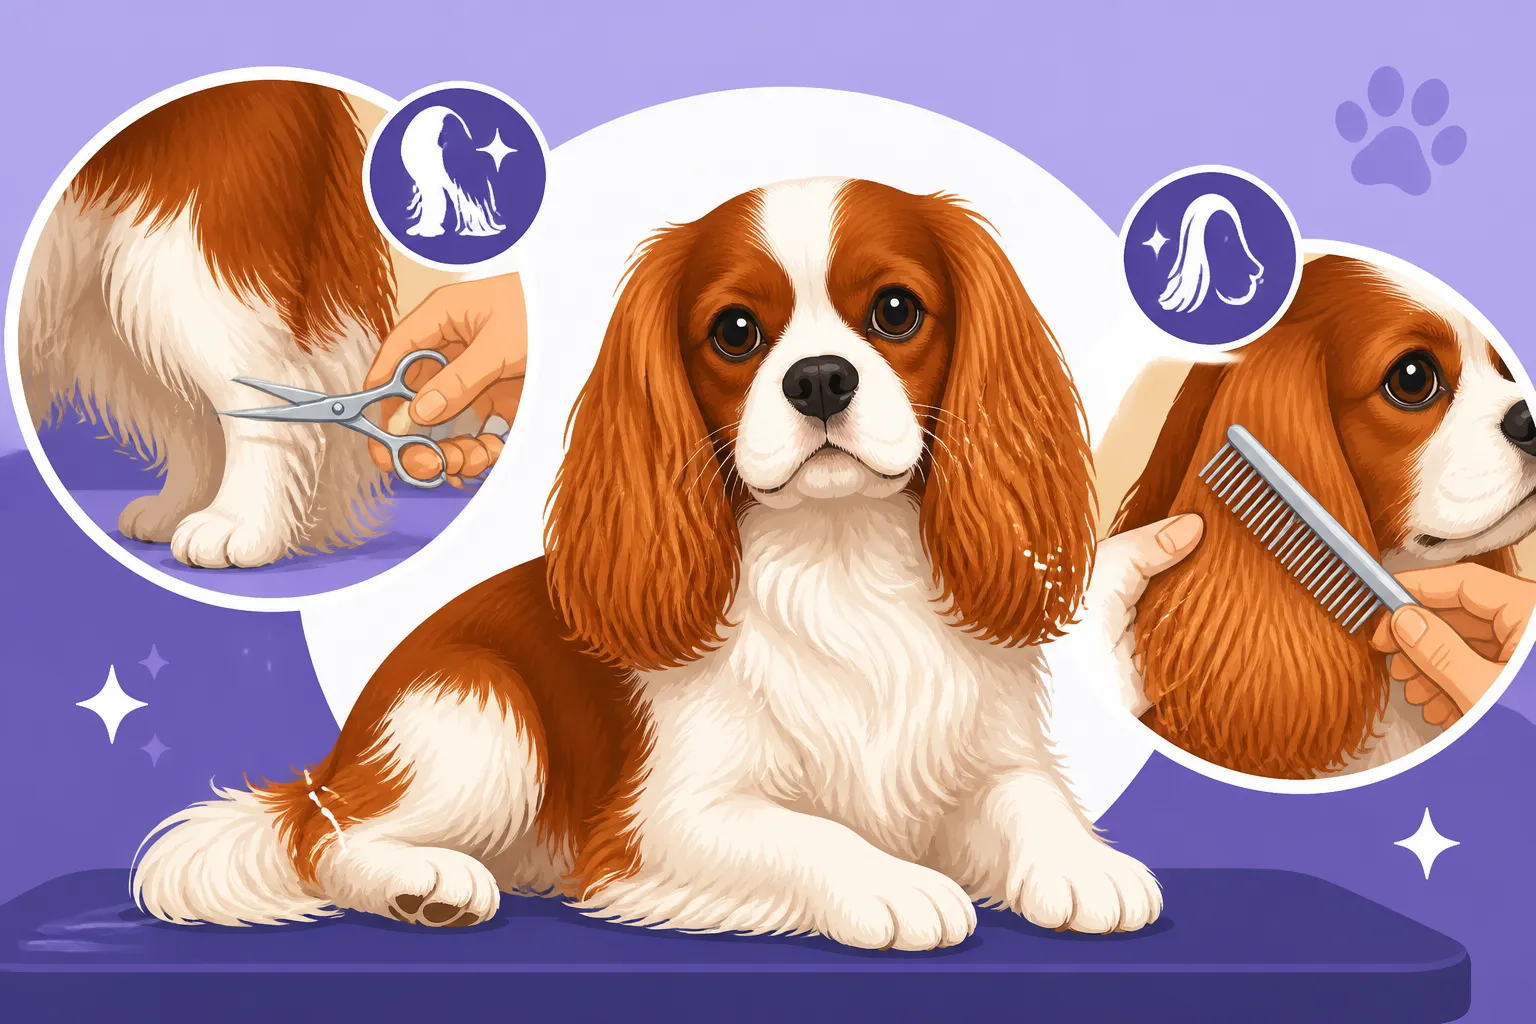
First and foremost, you'll need a good quality slicker brush and a metal comb. The slicker brush is your best friend for general dematting and brushing out the larger areas of feathering on the ears and hocks, helping to remove loose hair and minor tangles. Always be gentle, using a soft touch, as their skin can be quite sensitive. Follow up with a metal comb, which is essential for working through smaller knots and ensuring all the hair is truly tangle-free before any trimming begins. A wide-toothed side can tackle bigger sections, while the finer-toothed side will help you catch any hidden snarls. This two-step process, brushing then combing, is critical for thorough preparation. For a deeper dive into daily coat care, check out Brushing a Cavalier's Feathering Three Times a Week and The Brush and Comb a Cavalier Coat Needs.
When it comes to cutting, you'll want two types of scissors: blunt-nosed grooming shears and thinning shears. Blunt-nosed shears are a non-negotiable safety item, especially when working around sensitive areas like paws and ears. The rounded tips drastically reduce the risk of accidental nicks or pokes if your Cavalier suddenly moves. These are perfect for creating clean lines on the hocks. Thinning shears, with their serrated blades, are fantastic for blending and softening lines, preventing that harsh, "chopped" look. They remove bulk without leaving obvious cut marks, which is ideal for maintaining the natural flow of your Cavalier's coat, particularly on the ear fringe. Remember, sharp tools are safer than dull ones, so ensure your scissors are clean and in good condition. You can often find excellent grooming kits or individual tools on sites like Chewy or Amazon, making it easy to get everything you need delivered right to your door.
Products to Make the Job Easier
Beyond your core grooming tools, a few specialized products can significantly enhance your tidying efforts. A high-quality detangling spray is a lifesaver for stubborn knots. Before you even start brushing, a light spritz of detangling spray on matted areas can help lubricate the hair, making it much easier to comb through without causing pain or breaking the delicate feathering. Look for formulas specifically designed for dogs, often containing conditioning agents that also improve coat health. This pre-treatment can save a lot of tugging and discomfort, turning a potentially negative grooming experience into a more positive one for your Cavalier.
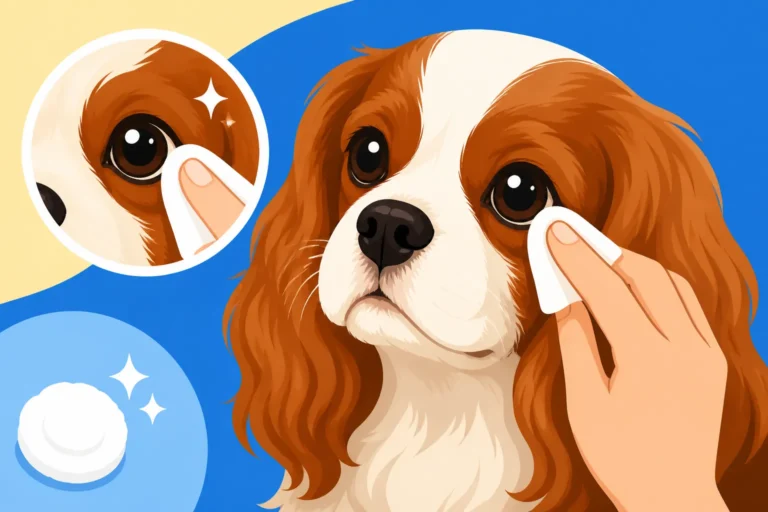
Another excellent addition to your grooming kit is a gentle ear cleaner. Even with trimmed ear fringe, Cavaliers are prone to ear issues due to their floppy ears. Using a good ear cleaner regularly, especially after baths or swims, helps maintain a healthy ear canal and reduces the risk of infections. While you won't be using this directly for trimming, keeping the ears healthy is part of overall ear care, and it's good to have on hand. Finally, consider having some small, high-value treats at the ready. Positive reinforcement is key to making grooming a pleasant experience. A steady supply of delicious treats can distract, reward, and encourage cooperation, turning grooming time into bonding time. Just a small, soft treat after each successfully trimmed section can work wonders for cooperation. Some owners even incorporate high-quality treats from brands like Ollie into their training and grooming routines, ensuring their pups get something truly special.
Here's a quick overview of the essential tools:
| Tool Type | Purpose | Key Feature / Benefit |
|---|---|---|
| Slicker Brush | Removing loose hair, minor tangles, general detangling | Efficiently removes shedding hair and surface mats |
| Metal Comb | Deep detangling, finding hidden knots, checking for mats | Two tooth widths for different hair densities, precise |
| Blunt-Nosed Shears | Safe trimming around sensitive areas like hocks & ears | Rounded tips prevent accidental pokes |
| Thinning Shears | Blending cut lines, reducing bulk, natural finish | Creates soft, seamless transitions, avoids harsh lines |
| Detangling Spray | Loosening stubborn mats, conditioning feathering | Reduces pain during detangling, protects delicate hair |
| High-Value Treats | Positive reinforcement, distraction, reward | Motivates cooperation, makes grooming a positive experience |
Step-by-Step Guide to Tidying the Hocks
Tidying your Cavalier’s hocks can feel a bit daunting at first, especially when you’re dealing with all that delicate feathering. The key is to approach it systematically, ensuring your dog is comfortable and you're working safely. This isn’t about shaving off all their beautiful leg hair; it’s about refining it to prevent tangles and maintain a clean, elegant line that complements their natural structure.
Preparing the Area
Before you even pick up your scissors, preparation is crucial. Start by ensuring your Cavalier is in a calm, relaxed state. Trying to groom an energetic or anxious dog is a recipe for disaster. You might want to do this after a short walk or playtime when they’re a bit tired, or during a time when they’re usually relaxed, perhaps on your lap. Gather all your tools within easy reach: your slicker brush, metal comb, blunt-nosed scissors, and thinning shears. Having everything organized means you won’t have to step away, potentially losing your dog's attention or patience.
Next, you need to thoroughly brush and comb out the feathering on their hocks. Use your slicker brush first to gently work through any larger areas of loose hair or tangles. Remember to brush in the direction of hair growth. If you encounter any mats, apply a detangling spray and carefully work them out with your fingers or the wide-toothed side of your metal comb. This step is incredibly important; never attempt to cut through a mat with scissors, as you risk pulling skin and causing injury. Once the feathering feels smooth and free of knots, switch to the fine-toothed side of your metal comb and comb through the area again, lifting the hair away from the leg so you can clearly see its natural fall. This allows you to identify any straggly bits that need attention and helps prevent an uneven cut. Don't forget to praise and reward your Cavalier for their cooperation throughout this process!
The Scissor Work for Neat Hocks
With the hock feathering thoroughly combed out, it’s time for the trim. The goal here is to create a neat, defined line that follows the natural curve of their leg, preventing the hair from dragging on the ground and collecting debris. Hold your Cavalier gently but firmly, perhaps with them sitting on your lap or a non-slip grooming table. Use your non-dominant hand to lightly lift and separate the feathering you intend to trim, allowing you to see the natural line of the hock.
Take your blunt-nosed scissors and begin to trim the very ends of the feathering, following the natural curve from just below the hock joint down to the top of their paw. You want to aim for a length that still looks full but is short enough not to drag. It’s always better to take off too little than too much – you can always trim more, but you can’t put hair back! For a softer, more natural finish, especially if you’re new to this, using thinning shears can be very helpful. They allow you to remove a small amount of bulk and blend the lines without creating a sharp, blunt edge. Snip small sections at a time, stepping back occasionally to assess your work and ensure both hocks match. Remember to keep the scissors parallel to the leg or slightly angled away from the skin for safety. After you've finished, give the hocks another quick comb-through and offer more praise and a tasty treat. This tidy trim helps prevent those frustrating mats and keeps your Cavalier looking perfectly groomed. You might also find it helpful to look into Whether to Trim a Cavalier's Foot Feathering for further paw care.
Step-by-Step Guide to Tidying the Ear Fringe
The Cavalier's ear fringe is a hallmark of their breed, so tackling it with scissors can feel a bit intimidating. The goal isn't to shorten their ears dramatically but to tidy up the ends, remove any straggly bits, and prevent the hair from becoming a matted, uncomfortable mess. This careful maintenance enhances their natural beauty and supports good ear health.
Prepping the Ears for Trimming
Just like with the hocks, thorough preparation is crucial for a successful ear fringe trim. Start by finding a calm, quiet environment where your Cavalier feels secure. Many owners find it easiest to have their dog sit on their lap or on a grooming table with a non-slip surface. Gentle reassurance and a soothing voice can go a long way in making your pup feel at ease. Remember, grooming should be a positive experience.
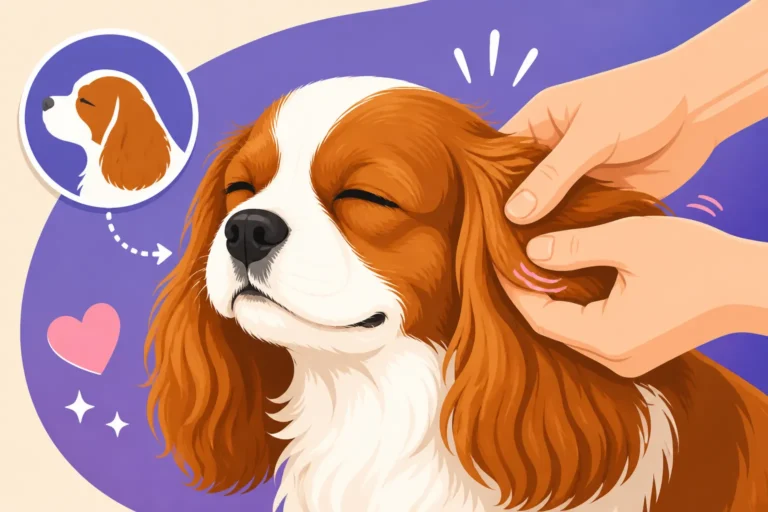
Before any cutting, meticulously brush and comb out the entire ear feathering. Use your slicker brush to remove loose hair and superficial tangles, then follow with your metal comb to ensure every strand is smooth and knot-free. Pay particular attention to the area behind the ears and where the ear leather meets the head, as these are prime spots for mats to form. If you encounter any stubborn mats, apply a detangling spray and gently work them out with your fingers and comb. Under no circumstances should you cut into a mat on the ear fringe, as the skin beneath is very delicate and easily cut. Once the ear fringe is completely detangled and flowing freely, you're ready to proceed. This careful preparation ensures a smooth, even trim and minimizes discomfort for your beloved Cavalier.
Careful Trimming for a Natural Look
Now for the actual trimming of the ear fringe. The key here is subtlety and a light hand. You are aiming to tidy, not to cut short. Hold one ear gently but firmly, allowing the fringe to hang naturally. Using your blunt-nosed scissors, start by trimming only the very ends of the longest, straggliest hairs. Imagine you're just dusting off the ends to create a cleaner, more defined edge, rather than taking off significant length. The goal is to maintain the natural long, flowing look that is characteristic of the Cavalier.
Work in small sections, always keeping your scissors parallel to the ear leather or angled slightly away from it to prevent accidents. Many experienced groomers prefer to use thinning shears for ear fringe, as they create a much softer, more natural line without any harsh edges. This helps the fringe blend seamlessly and prevents that "chopped" appearance. After trimming one ear, gently shake the ear and comb through the fringe again to see if any missed strands become apparent. Then, move on to the second ear, taking your time to ensure both sides are symmetrical. Step back frequently to compare the two ears and check the overall balance. Once you're done, praise your Cavalier extensively and offer them a well-deserved treat. Regular, light trims like this will keep their ear fringe looking magnificent and help prevent mats from forming, contributing to their overall comfort and appearance. You might want to consider Cavalier Ear Cleaning Supplies as a Standing Cost to keep those newly tidied ears in tip-top shape.
Common Mistakes and How to Avoid Them
Even with the best intentions, it's easy to make mistakes when grooming, especially when you're working on delicate areas like your Cavalier's hocks and ear fringe. Understanding these common pitfalls can help you avoid them, ensuring a positive experience for both you and your furry friend, and keeping their beautiful coat looking its best.
Over-Trimming and Uneven Cuts
One of the most common mistakes is over-trimming, especially when you're just starting out. It's so tempting to want to make a big difference, but with a Cavalier's natural, flowing coat, less is definitely more. Cutting too much off the hocks or ear fringe can instantly give your dog an unnatural, "chopped" appearance that takes months to grow out. Remember, the Cavalier standard calls for a natural look; we're just tidying up the edges. A good rule of thumb is to only trim an inch or two at a time, or even less for the ears. If you're unsure, always err on the side of caution. You can always take off more hair later, but you can't put it back! This is where thinning shears truly shine, as they allow for a very gradual reduction in length and bulk, making over-trimming much harder to do.
Uneven cuts are another frustrating result of rushing or lack of practice. One ear might end up longer than the other, or one hock might have a jagged edge while the other is smooth. To avoid this, always groom your Cavalier when they are calm and still. Work in good lighting so you can clearly see what you're doing, and take frequent breaks. Step back often to observe your work from different angles and ensure symmetry. Using a consistent technique on both sides is critical. For instance, always comb the hair down fully before making a cut, and use landmarks on your dog's body to gauge length. If you're consistently struggling with evenness, consider investing in a short session with a professional groomer who can demonstrate the correct technique. There are also many tutorials on platforms like YouTube where you can watch experienced groomers working on Cavalier coats, which can be immensely helpful. If you’re ever considering a professional groomer, it's worth checking out What a Cavalier Groomer Should and Should Not Cut.
Keeping Your Cavalier Comfortable During Grooming
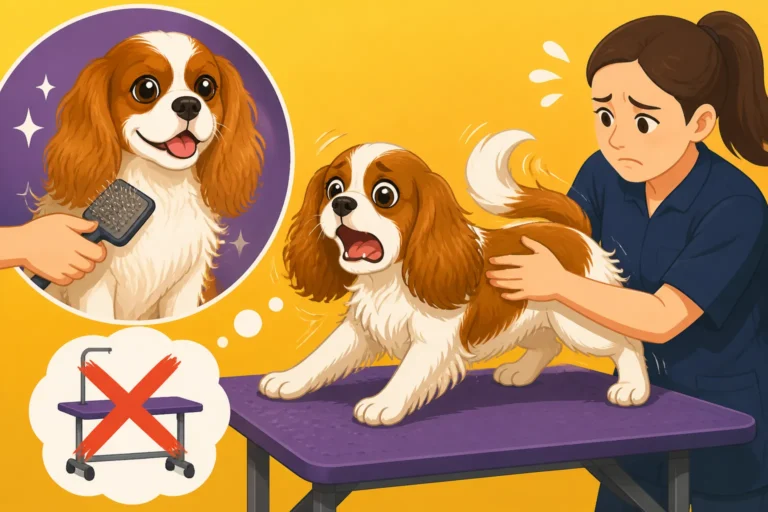
Perhaps the biggest mistake you can make is turning grooming into a stressful, negative experience for your Cavalier. Our Cavaliers are sensitive souls, and if they associate grooming with pain, fear, or discomfort, they will resist every time. This not only makes future grooming sessions harder but can also damage your bond. One key way to ensure comfort is to always work with a completely tangle-free coat. Pulling on mats is painful and will quickly make your Cavalier resent the brush and comb, let alone the scissors. Take your time with the detangling process, using a detangling spray and your fingers to gently separate knots. Never yank or pull.
Throughout the entire grooming process, use a calm, reassuring tone of voice. Offer plenty of praise, gentle strokes, and frequent, small, high-value treats. Break the session into short increments if your Cavalier gets restless. You don't have to do everything at once. Maybe one day you focus on the hocks, and another day you tackle the ear fringe. If your dog is showing signs of stress—lip licking, yawning, stiff body language, or trying to pull away—take a break. Stop for a few minutes, let them relax, and then try again. Sometimes, a distraction, like a lick mat smeared with a tiny bit of peanut butter (xylitol-free, of course!), can keep them occupied while you work. Remember, patience and positive reinforcement are your most powerful tools for creating a Cavalier who not only tolerates grooming but might even enjoy the special attention. For older Cavaliers, comfort is even more paramount; consider reading Grooming an Older Cavalier That Cannot Stand Long to ensure their well-being.
Disclaimer
This article is for general informational purposes only and does not constitute professional advice. Laws, prices and regulations vary by location and change over time. Consult a qualified professional for guidance on your specific situation.