Drying a Cavalier’s Ears After a Bath
Oh, the joy of a freshly bathed Cavalier! Their silky coats shine, they smell wonderful, and then you get to the ears. If you've ever found yourself wrestling with a damp, floppy ear, trying to get it dry after a bath, you know the struggle is real. Those beautiful, long drop ears, while utterly charming, are also little moisture traps just waiting to cause trouble. But don't despair! This guide is here to walk you through the proper way to dry your Cavalier's ears, helping you prevent those dreaded ear infections and keep your pup comfortable and healthy.
Why Your Cavalier's Ears Need Special Drying Attention
Let's be honest, those luxurious Cavalier ears are one of their most endearing features. But from a health perspective, they present a unique challenge. Unlike dogs with pricked, upright ears that allow for plenty of airflow, a Cavalier's long, heavy drop ears lie flat against their head. This creates a warm, dark, and often humid environment that is absolutely ideal for the growth of bacteria and yeast. Add water from a bath into that mix, and you've got a recipe for a raging ear infection.
Think about it: after a swim or even just a particularly enthusiastic drink from the water bowl, that moisture gets trapped. For us, a wet ear might just be annoying, but for a Cavalier, it can quickly escalate into discomfort, pain, and a trip to the vet. Many Cavalier owners know the frustration of recurrent ear infections, the tell-tale head shaking, the scratching, and that distinct, sometimes pungent, smell. Preventing these issues starts with understanding their unique anatomy and being diligent about keeping those ears dry, especially after a bath. It’s not just about comfort; it's about safeguarding their health. You can read more about why these issues pop up so often in Cavalier Ear Infections and Why They Recur and how to spot Yeast Under a Cavalier's Ear Flap.
Pre-Bath Preparation: Setting the Stage for Dry Ears
Before your Cavalier even steps a paw into the tub, a little preparation can make a huge difference in how easily and effectively you can dry their ears afterward. This isn't just about saving time; it's about proactively protecting those delicate ear canals from getting too wet in the first place.
The Cotton Ball Barrier
One of the simplest and most effective preventative measures is to place large cotton balls or even specially designed ear plugs loosely into your Cavalier's ear canals. The key word here is loosely. You don't want to shove them in so far that you can't easily retrieve them, but just enough to create a barrier against errant splashes and streams of water. These cotton barriers will absorb any water that tries to sneak in, keeping the inner ear much drier during the bathing process. Just remember to remove them immediately after the bath, before you start the drying process! Leaving them in can actually trap moisture inside, which defeats the whole purpose.
Brushing Out the Feathering
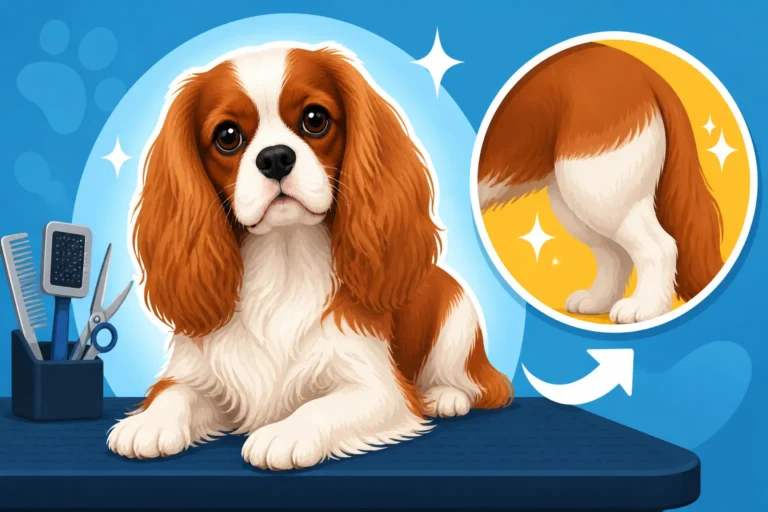
Those long, silky ear feathers are magnificent, but they can become a matted mess when wet, trapping even more moisture close to the ear leather. Before the bath, take a good ten minutes to thoroughly brush and comb your Cavalier's ear feathering. Pay close attention to the area behind the ears and around the base, as these are prime spots for tangles and mats. Removing these tangles beforehand means that water won't get trapped in knotted fur, and your drying efforts will be much more effective. Plus, trying to comb out wet mats is a nightmare for both you and your dog, and it can be painful for them. A good slicker brush and a metal comb (you can find great options on Amazon or Chewy) are your best friends here.
Gathering Your Drying Arsenal
Having everything you need within arm's reach before you start the bath will streamline the post-bath drying process and prevent you from running around dripping wet while your Cavalier shakes water everywhere. Here’s what you’ll want to have ready:
- Several Absorbent Towels: Microfiber towels work wonders for wicking away moisture quickly.
- Fresh Cotton Pads or Balls: For wiping out the outer ear.
- A Dog-Specific Blow Dryer (Optional but Recommended): Make sure it has a cool or low-heat setting. Human hair dryers can get too hot and damage their skin.
- Ear Cleaning/Drying Solution: A good quality, vet-approved solution, especially one with a drying agent.
- Treats: To reward good behavior and make the experience positive!
Bath Time Tactics: Minimizing Water Intrusion
While those cotton balls are doing their job, you can further minimize the amount of water that gets into your Cavalier's ears during the actual bath. It's all about technique and being mindful of where the water is going.
Washing Techniques to Protect the Ears
When you're washing your Cavalier, try to keep the water flow directed away from their head as much as possible. Start with their body, lathering up their back, sides, and legs. When you get to their head, instead of dousing it directly with the showerhead or cup, apply a small amount of shampoo to your hands and gently lather their face, forehead, and the outside of their ear flaps.
You can also gently fold their ear flaps over their ear canals and hold them in place while you quickly rinse around their head. Another trick is to tilt your Cavalier's head slightly downwards when rinsing their face and head, allowing water to run forward and away from their ears, rather than trickling back into the canals. It takes a bit of practice, but with time, you'll develop a rhythm that keeps those ears as dry as possible.
Gentle Rinsing Around the Head
Rinsing is often where water can sneak into the ears most easily. Be extra diligent during this step. Use a gentle stream of water, or even a damp cloth, to wipe away shampoo from their face and around their ears. Avoid spraying directly into the ear area. If you're using a handheld shower nozzle, direct the water downwards, moving from the top of their head towards their nose, and then down their neck, carefully avoiding the ear openings. The goal is to clean thoroughly without inadvertently filling their ears with water. This mindful approach during the bath will significantly reduce the amount of work you have to do in the crucial drying stage.
Immediate Post-Bath Drying: The First Line of Defense
As soon as the bath is over and the cotton balls are out, the race against moisture begins! The quicker you can get the bulk of the water off, the better. This initial stage is all about absorption and gentle wiping.
Squeeze, Shake, and Blot
The very first thing you'll do is let your Cavalier do what comes naturally: shake! Encourage them to give a good, vigorous shake. This dislodges a surprising amount of water from their coat, including their ears. Stand clear unless you want a full shower yourself!
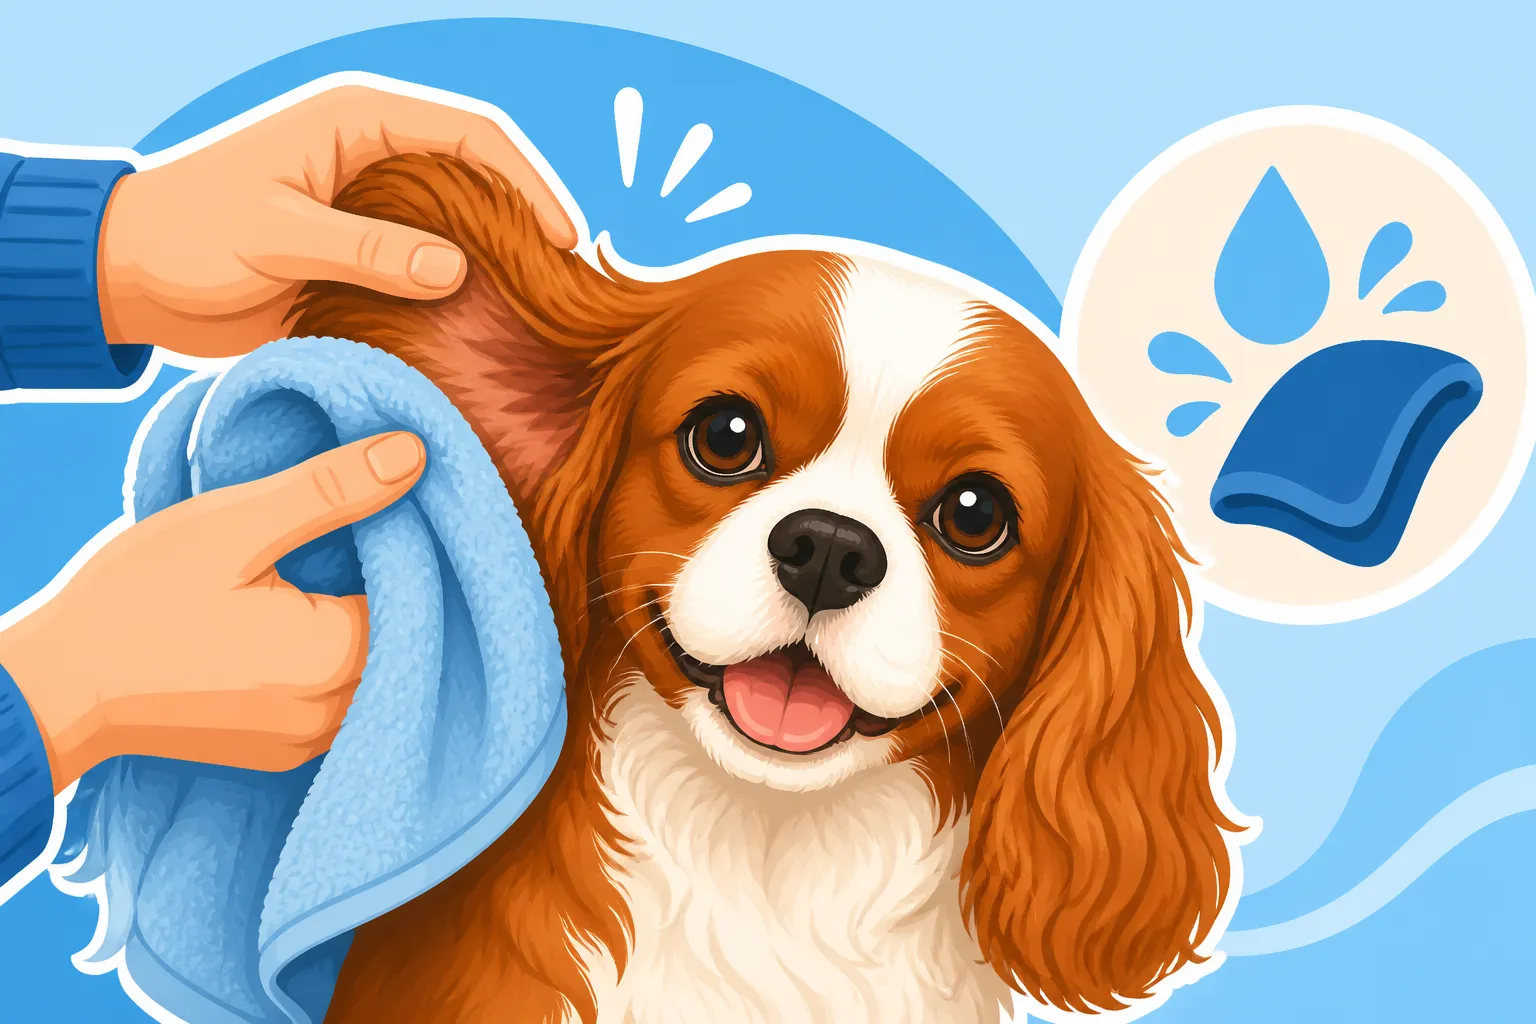
Once they've had their shake, grab one of your absorbent towels. Gently but firmly squeeze the length of each ear flap, from the base down to the tip of the feathering. Don't rub aggressively, as this can tangle the delicate hair and irritate the skin. Instead, blot and press the towel against the ear leather and the feathering to absorb as much surface water as possible. Repeat this several times with dry sections of the towel until the ears are no longer dripping.
Using Cotton Pads for the Outer Ear
After the initial towel dry, take a fresh, dry cotton pad or ball. Gently wipe the inside of the ear flap, getting into all the little folds and crevices of the pinna (the visible part of the ear). You can also gently wipe around the entrance to the ear canal. The goal here is to remove any visible moisture without pushing anything deeper into the ear.
It’s tempting to grab a cotton swab (like a Q-tip) and try to get right down into the canal, but please resist this urge! Cotton swabs can actually push debris and moisture further into the ear canal, compacting wax and potentially damaging the delicate eardrum. Why Cotton Swabs Ruin a Cavalier's Ear explains this in more detail, but generally, if you can’t see it, don’t try to swab it out. Focus on the areas you can easily access and wipe clean.
Advanced Drying Techniques: Achieving True Dryness
Once you've tackled the immediate moisture, it's time to ensure those ears are truly dry, not just damp. This is where you might need to bring in some reinforcements like a blow dryer or a specialized ear cleaner.
The Low-Heat Blow Dryer Method
Using a dog-specific blow dryer on a cool or low-heat setting is arguably the most effective way to dry a Cavalier's ears thoroughly. However, safety is paramount.
- Temperature Check: Always check the dryer's temperature on your own skin first. It should feel comfortably warm, never hot. Direct heat can burn their sensitive skin or even damage their eardrums.
- Distance is Key: Hold the dryer at least 6-12 inches away from their ear.
- Constant Movement: Never point the dryer at one spot for too long. Keep it moving, gently circling the ear.
- Acclimation: If your Cavalier isn't used to a dryer, start slowly. Let them hear the sound from a distance, then gradually introduce it to their body, praising and rewarding them for calm behavior. Many dogs, especially Cavaliers, are quite tolerant.
Technique for Drying:
Gently lift the ear flap, exposing the ear leather underneath and the feathering. Direct the airflow under the ear and onto the inside of the flap. Use your fingers to gently separate the feathering so the air can reach the skin. Pay special attention to the base of the ear, where the flap meets the head, as this area tends to trap the most moisture. Continue until the ear leather feels completely dry to the touch, and the feathering is fluffy and airy. Don't forget the outside of the ear flap and all the glorious feathering that hangs down – it needs to be dry too!
Air Drying and Monitoring
While a blow dryer is ideal, sometimes it's not practical, or your dog might genuinely dislike it. Air drying can be an option for very light moisture, but it requires much more vigilance.
- When it's Okay: If your Cavalier's ears only got slightly damp, or if you've already done a thorough towel dry and used an ear drying solution, air drying might suffice.
- The "Flap and Check" Method: After towel drying, encourage your Cavalier to shake their head. You can even gently flap their ears yourself to encourage airflow. Over the next hour or two, periodically check their ears. Gently lift the flap and feel the skin and the base of the ear. Is it cool and completely dry? Is there any lingering dampness? If so, you'll need to continue drying.
- Supervision is Critical: Never let a Cavalier with damp ears wander off unsupervised, especially if they are prone to rolling in grass or dirt, which will only exacerbate any potential issues.
| Drying Method | Pros | Cons | Best For |
|---|---|---|---|
| Towel Blotting | Quick, easy, universally accepted. | Only removes surface moisture, not thorough enough on its own. | Initial post-bath drying. |
| Low-Heat Blow Dryer | Most thorough, speeds drying significantly. | Can be noisy/scary for some dogs, requires careful temperature control. | Deep drying, especially for thick feathering and floppy ears. |
| Ear Drying Solution | Evaporates moisture, often has antiseptic properties. | Doesn't remove large amounts of water, needs follow-up wiping. | Residual moisture, preventative after swimming/baths. |
| Air Drying | No equipment needed, quiet. | Slow, often incomplete, high risk of trapped moisture leading to infection. | Very light dampness, only with constant monitoring. |
Ear Cleaners with Drying Agents
After you've done the physical drying, a good ear cleaning solution formulated with a drying agent can be your best friend. These solutions are designed to help evaporate any residual moisture deep within the ear canal that you might not be able to reach with a towel or dryer.
- Purpose: Many veterinary-approved ear cleaners contain ingredients like salicylic acid or boric acid, which help dry out the ear canal and acidify the environment, making it less hospitable for yeast and bacteria. Some even have mild antiseptic properties.
- Application: Always follow the instructions on the product label or your veterinarian's advice. Generally, you'll apply a small amount of the solution into the ear canal, gently massage the base of the ear for about 30 seconds (you'll hear a squishy sound), and then allow your Cavalier to shake their head. After they shake, use a fresh cotton pad to wipe away any excess solution and loosened debris from the outer ear. Remember the "if you can't see it, don't swab it" rule still applies here. You can find excellent ear cleaning solutions at pet stores, or online retailers like Chewy and Ollie (though Ollie is known for food, many pet product retailers carry such items).
This extra step is especially valuable for Cavaliers, given their predisposition to ear problems. By combining thorough physical drying with a chemical drying agent, you're giving their ears the best possible chance to stay healthy and infection-free.
Maintaining Dryness Between Baths
The work isn't over just because bath time is. Keeping those ears healthy means ongoing vigilance, even on "dry" days.
Daily Ear Checks
Make it a habit to perform a quick ear check on your Cavalier every day or two. This doesn't need to be an elaborate examination. Simply lift each ear flap and take a quick look and sniff.
- What to Look For: Is the skin inside the ear flap clean and a healthy pale pink? Are there any signs of redness, swelling, or discharge?
- What to Smell For: A healthy ear should have little to no odor. If you detect a yeasty, sweet, or foul smell, it’s a red flag.
- What to Feel For: Gently feel the base of the ear. Is it warm? Does it feel sensitive to your touch?
These quick checks allow you to catch potential issues early, before they escalate into full-blown infections.
The Mighty Snood
If you own a Cavalier, you're probably familiar with the snood! This simple tubular head covering is a game-changer for keeping those long ears clean and dry, especially during meal times and when drinking. Snoods That Keep Cavalier Ears Out of Dinner will tell you everything you need to know about them. By pulling the snood over your Cavalier's head, it gathers their ears up and out of their food and water bowls. This prevents their delicate feathering from getting soaked, matted with food, or contaminated with water. Less wetness during daily activities means less chance of lingering dampness leading to problems.
Weather Considerations
Believe it or not, the weather plays a role in ear health too. If you live in a humid climate, or if your Cavalier loves to play outside in damp conditions, their ears will naturally be exposed to more moisture.
- Rainy Walks: If your Cavalier comes in from a rainy walk with wet ears, treat it like a mini-bath. Give them a good towel dry and consider a quick wipe with an ear drying solution.
- High Humidity: In periods of high humidity, consider more frequent ear checks and perhaps using a preventative ear drying solution every few days, even without a bath.
- Swimming: If your Cavalier is a swimmer (some are, though not all Cavaliers love water!), proper ear drying after a dip is even more critical. Use the full drying protocol, including the blow dryer and a drying ear cleaner, every single time.
By being mindful of these factors and incorporating these preventative habits into your routine, you can significantly reduce the risk of ear infections and keep your Cavalier's beautiful ears healthy and comfortable year-round.
When to Seek Veterinary Advice
Despite your best efforts, sometimes ear problems still arise. It's crucial to know when to stop home care and get professional help, as an untreated ear infection can lead to more serious complications, including Chronic Ear Disease and Cavalier Hearing Loss.
Here are the signs that warrant a trip to the vet:
- Persistent Head Shaking or Scratching: If your Cavalier is constantly shaking their head, rubbing their ears on the furniture, or scratching at them relentlessly, it's a clear sign of discomfort and likely an infection.
- Redness and Swelling: Visibly red, inflamed, or swollen ear flaps or ear canals are indicative of irritation or infection.
- Discharge: Any discharge from the ear, whether it's yellowish, brown, black, or pus-like, is abnormal and needs veterinary attention.
- Strong, Unpleasant Odor: While a mild "doggy" smell might be normal, a distinct foul, yeasty, or sweet smell often points to bacterial or yeast overgrowth.
- Pain or Sensitivity: If your Cavalier yelps, flinches, or guards their ear when you try to touch it, they are in pain.
- Changes in Behavior: Lethargy, loss of appetite, or an unwillingness to play might also accompany a painful ear infection.
- Hearing Loss: While less common initially, chronic or severe infections can eventually impact hearing.
If you observe any of these symptoms, don't delay. An early diagnosis and appropriate treatment from your veterinarian can prevent the infection from worsening and spare your Cavalier unnecessary pain. Your vet can accurately diagnose the type of infection (bacterial, yeast, or both), prescribe the correct medication, and even check for underlying issues like allergies or foreign bodies in the ear canal. Sometimes, what seems like a simple ear infection can even be a sign of something more complex, like Glue Ear in a Cavalier and How It Is Found. Regular check-ups with your vet can also help you develop a preventative routine tailored to your Cavalier's specific needs.
Disclaimer
This article is for general informational purposes only and does not constitute professional advice. Laws, prices and regulations vary by location and change over time. Consult a qualified professional for guidance on your specific situation.